
Sewing opens up a world of creativity where you can bring your ideas to life! Whether you’re crafting a stylish tote bag or a cozy pillow, the joy of creating something beautiful is unmatched. However, many beginners encounter hurdles that can be discouraging. You might struggle with thread breakage or even find major alterations overwhelming. Starting with simple projects can help ease you into the craft, allowing you to build your confidence. With the right sewing machine tips, you’ll overcome these challenges and soon sew like a pro!
Key Takeaways
Choose a user-friendly sewing machine with basic stitch options to make your sewing journey enjoyable.
Properly thread your machine to maintain stitch quality and reduce interruptions from thread breakage.
Select beginner-friendly fabrics like woven 100% cotton for easier handling and better results.
Master basic stitches such as straight and zigzag to build a strong foundation for your sewing skills.
Regularly clean and maintain your sewing machine to ensure it performs well and lasts for years.
Setup Tips
Choosing Your Machine
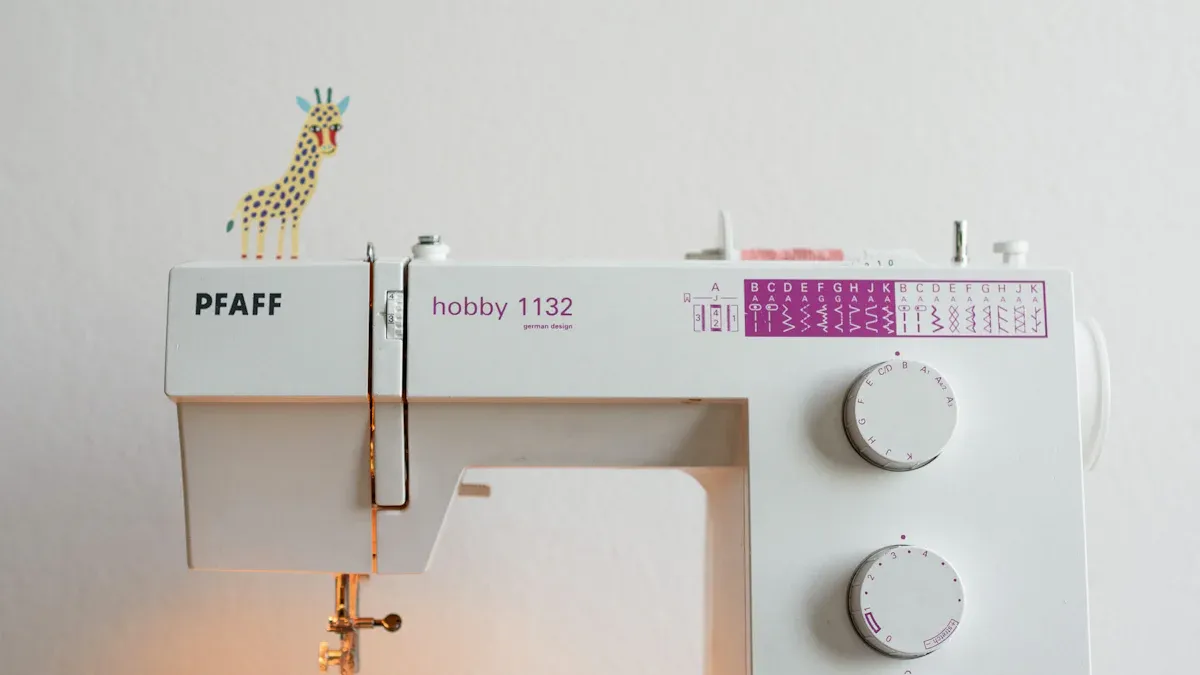
When you start sewing, picking the right machine is crucial. A quality sewing machine can make your projects easier and more enjoyable. Here are some features to consider:
Ease of Use: Look for user-friendly features like simple dials and clear labels. This helps you avoid feeling overwhelmed.
Stitch Options: Focus on basic stitches like straight, zigzag, and buttonhole. You don’t need a machine with a million options when you’re just starting.
Durability: Choose a machine with sturdy construction. This ensures it can handle beginner projects without falling apart.
Some popular brands for beginners include Brother, Singer, and Janome. These brands offer reliable machines that can grow with your skills.
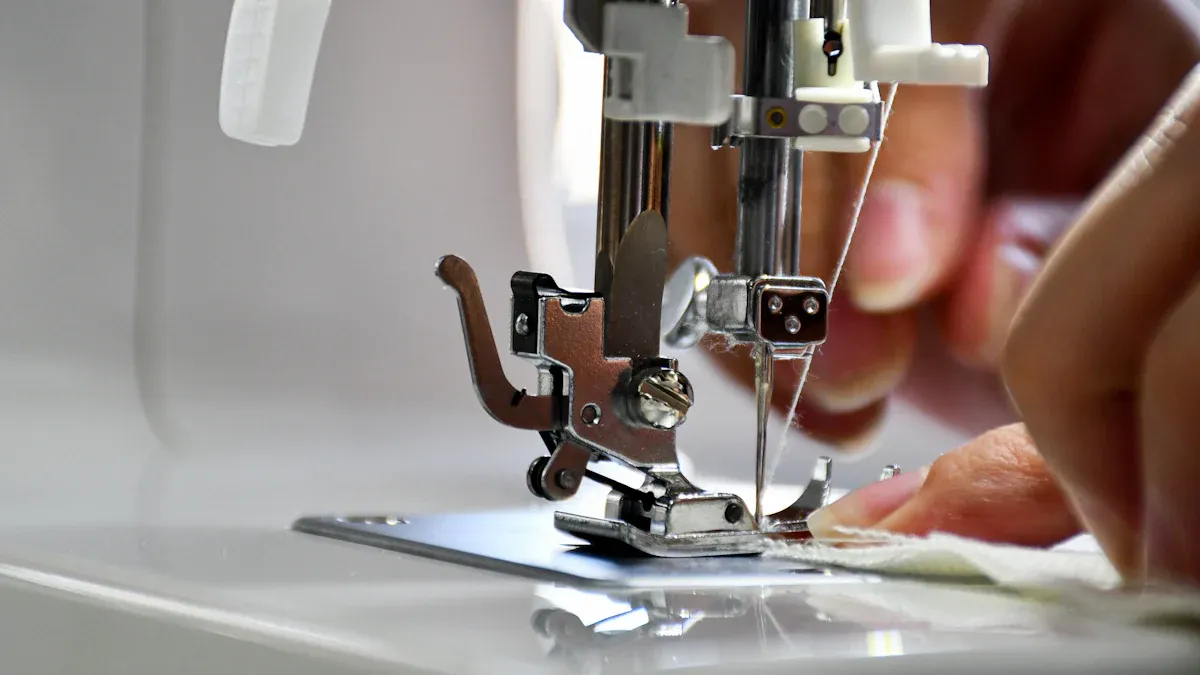
Threading Correctly
Proper threading is essential for smooth sewing. It ensures your machine runs well and produces beautiful stitches. Here’s why you should pay attention to this step:
Correct threading maintains the right tension, which is vital for consistent stitch quality.
It reduces the chances of thread breakage, so you can sew without interruptions.
Quality threading techniques help prevent skipped stitches, which can ruin your project.
To make your sewing experience even better, gather some essential sewing tools. Here’s a quick list of must-haves:
Craft Scissors: Keep a separate pair for cutting paper to protect your fabric scissors.
Thread Snipper: Handy for precise thread cutting.
Seam Ripper: Essential for correcting mistakes.
Sewing Pins and Clips: Use these to hold fabric together without damaging it.
Iron and Ironing Board: Crucial for achieving crisp, professional-looking garments.
Starting your sewing journey with these essential sewing tools will not only make your projects easier but also more enjoyable. Each tool plays a significant role in the sewing process, leading to a more polished final product.
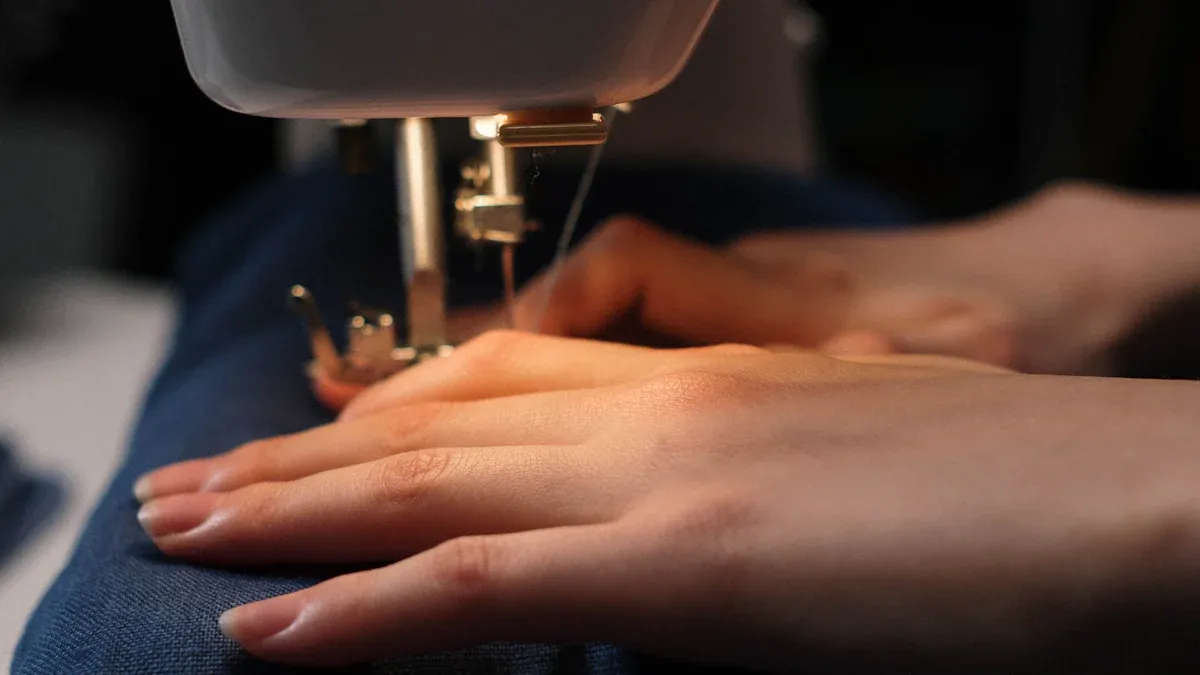
Fabric Handling
Selecting Fabrics
Choosing the right fabric can make or break your sewing project. As a beginner, you want to start with materials that are easy to work with. Here are some great options:
Woven 100% cotton: This fabric is a favorite among beginners because it’s easy to sew and comes in a variety of colors and patterns.
Linen: While it has a lovely texture, linen can be tricky to cut and tends to wrinkle more than cotton.
Cotton/poly blends: These fabrics wrinkle less than 100% cotton, making them a practical choice for everyday projects.
When selecting fabric, avoid common mistakes. Don’t buy fabric without a clear plan. This often leads to unused fabric or not enough for your project. Also, pay attention to the weight and structure of the fabric. These factors affect how your finished garment will look and feel.
Prepping for Sewing
Prepping your fabric is crucial for achieving the best results. Follow these steps to ensure your fabric is ready for sewing:
Wash and Dry the Fabric: This removes chemicals and prevents shrinkage later. Always wash and dry the fabric as you intend to care for the final garment.
Identify the Lengthwise and Crosswise Grain: Knowing the grainlines helps you place your patterns correctly.
Label Fabric Pieces: After prepping, label each piece with yardage, width, and fabric type. This keeps everything organized.
Press the Fabric: After washing, press the fabric to remove wrinkles before cutting and sewing.
Many experienced sewers emphasize the importance of pre-washing fabric. This step helps ensure your fabric will withstand wear and washing without unexpected shrinkage or color loss. By taking the time to prep your fabric properly, you set yourself up for sewing success!
To keep your fabric in top shape, store it in an opaque box with a lid. This minimizes light exposure, which can cause fading.
Sewing Techniques
Mastering Stitches
As you dive into sewing, mastering basic stitches is essential. These stitches form the foundation of your sewing skills. Here’s a list of the key stitches every beginner should know:
Running stitch: This is the foundation of hand sewing. It’s perfect for quick mending and gathering fabric.
Backstitch: Use this stitch for strong seams. It provides security and durability.
Overcast stitch (Whip Stitch): This stitch finishes raw edges to prevent fraying, keeping your projects neat.
Slip stitch: Achieve invisible hems with this technique, making your finished pieces look professional.
Straight stitch: The cornerstone of machine sewing, this stitch works for most seams.
Zigzag stitch: This versatile stitch finishes edges and works well with knits.
Blind hem stitch: Create professional-looking hems that are nearly invisible.
When you sew, pay attention to seam allowances. A standard seam allowance is typically 1.2 cm (1/2 inch) for main seams like shoulder and side seams. For necklines and armholes finished with facings, aim for about 1 cm (3/8 inch). Here’s a quick reference table for different seam types:
Seam Type | Recommended Seam Allowance |
|---|---|
Main seams (shoulder seams, side seams) | 1.2cm (1/2in) |
Armholes and sleeve caps | 1.2cm (1/2in) |
Necklines and armholes finished with facings | 1cm (3/8in) |
Centre back seam with a zip | 2cm (3/4in) |
Hem allowance | Varies by pattern |
Troubleshooting Issues
Even the best sewing machines can have their quirks. As a beginner, you might encounter some common sewing machine problems. Here’s how to troubleshoot them:
Thread bunching up under your fabric: Check your threading, bobbin insertion, and tension settings.
Bent or broken needles: Always use a new needle for each project and ensure it’s the right type.
Fabric not feeding: Make sure the presser foot is down and check for drop-feed settings.
Thread keeps breaking: Use the appropriate thread types and check your tension settings.
Machine is skipping stitches: Verify that the needle is installed correctly and re-thread the machine.
Bobbin tension not consistent: If issues persist, consider switching to a new bobbin.
Seams in stretch fabrics coming out wavy: Adjust your sewing technique and presser foot pressure.
Sewing machine seizes up or won’t sew: Check for fabric suitability and clean the machine.
Needle comes unthreaded before sewing: Ensure the needle is at its highest point before threading.
If you experience thread tension issues, follow these steps to resolve them:
Check that the spool is the right way up.
Remove any spool stickers.
Ensure all guides are threaded correctly.
Make sure the spool thread isn’t caught on the bobbin winder guide.
Confirm that the bobbin is inserted correctly.
Adjust the spool tension dial.
Adjust the bobbin case tension.
By mastering these stitches and knowing how to troubleshoot common sewing machine problems, you’ll be well on your way to sewing like a pro!
Maintenance and Care
Cleaning Your Machine
Keeping your sewing machine clean is essential for its longevity and performance. Regular cleaning helps prevent issues like thread jams and skipped stitches. Here are some cleaning tips to follow:
Surface Cleaning: Use a soft, damp cloth to wipe down the exterior. This removes dust without damaging the machine. Avoid harsh chemicals that could harm the finish.
Internal Cleaning: Unplug your machine, remove the needle plate, and use a lint brush to clear out any debris. For stubborn dust, compressed air works wonders.
Regular Cleaning: Aim to clean your machine every few weeks. This keeps it running smoothly and ensures optimal performance.
Regular Maintenance Tips
Regular maintenance can significantly extend the life of your sewing machine. Did you know that well-maintained machines can last anywhere from 10 to 25 years? Here are some key maintenance tasks to keep in mind:
Change Your Needle: Swap out your needle every 6 to 8 hours of use. A dull or damaged needle can lead to fabric snags and poor stitching quality.
Inspect Before Use: Always check for issues like broken needles or thread jams before starting a new project. This simple step can save you time and frustration.
Lubricate Moving Parts: Follow your machine’s manual for lubrication instructions. Regular lubrication keeps the machine running smoothly.
Dust and Clean: Dust the exterior and clean beneath the machine every time you sew. This prevents buildup that can affect performance.
Check for Worn Parts: Regularly inspect parts like the hook and bobbin case for wear. Replacing worn parts can prevent bigger issues down the line.
By following these maintenance tips, you can enjoy a sewing machine that performs well for years to come. Remember, a little care goes a long way!
Sewing is a journey filled with creativity and growth. To truly improve, you should practice regularly and try out different projects. Each time you sew, you enhance your problem-solving skills, attention to detail, and patience. These skills not only help you in sewing but also in other areas of life.
Consider starting with fun projects like scrunchies or fabric angel ornaments. These quick wins will boost your confidence and make sewing enjoyable. Remember, every stitch you take brings you closer to mastering this craft. So, keep sewing and enjoy the process!
