
There’s something truly magical about handmade candles in your home décor. They bring warmth, light, and a personal touch that store-bought options just can’t match. Imagine the satisfaction of crafting a unique piece that reflects your style! The process is simple and rewarding, allowing you to express your creativity. Plus, engaging in candle making can boost your mood and enhance emotional well-being. As you mix fragrances and pour wax, you create not just candles, but little moments of joy that brighten your space.
Key Takeaways
Gather essential materials like wax, wicks, and fragrance oils to start your candle-making journey.
Choose the right wax type for your candles; soy wax is great for beginners due to its clean burn and fragrance retention.
Follow safety protocols, such as using potholders and ensuring good ventilation, to enjoy candle making without accidents.
Experiment with unique shapes and containers to personalize your candles and enhance your home décor.
Keep a candle journal to track your techniques and improvements, making your candle-making experience even more rewarding.
Materials for Handmade Candles
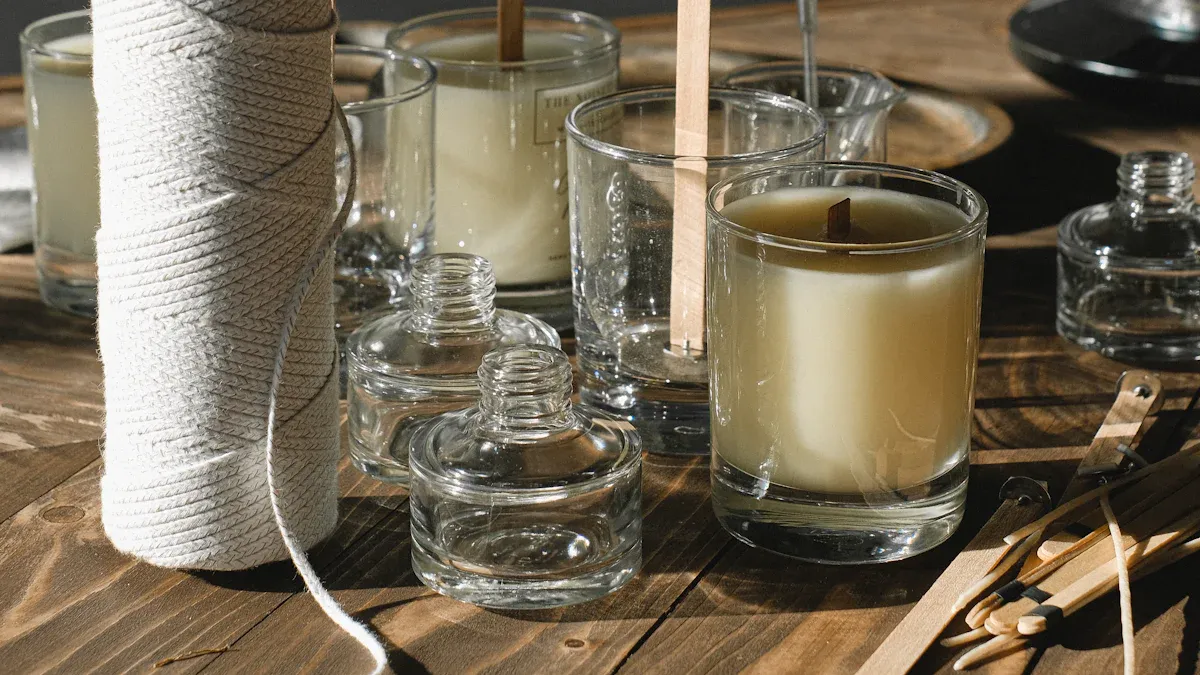
Creating your own handmade candles starts with gathering the right materials. Let’s break down the essentials you’ll need for a successful candle-making experience.
Types of Wax
Choosing the right wax is crucial for your candle’s performance. Here are some popular options:
Soy Wax: This is a favorite among many candle makers. It burns slowly and cleanly, making it great for diffusing fragrances. However, it can be less stable in colder temperatures and may sometimes be mixed with paraffin if not certified.
Coconut Wax: Known for its silky texture and subtle scent diffusion, coconut wax is a luxurious choice. Unfortunately, it’s rare and can be quite expensive.
Rapeseed (Canola) Wax: This renewable option burns very cleanly. Like soy, it may struggle in winter conditions and is rarely used alone.
Palm Wax: While it offers good fragrance retention and stability, palm wax is controversial due to its links with deforestation. If you choose this wax, look for RSPO sustainable certification.
Beeswax: This natural wax burns for a long time and even purifies the air by releasing negative ions. However, it’s not vegan and can be pricier than other options.
Paraffin Wax: This is the most common wax used in commercial candles. It holds colors and fragrances well and burns evenly. However, it’s non-renewable and can release toxic compounds when burned.
Different waxes have unique properties that affect how they release fragrance and how long they burn. For instance, paraffin wax is known for its strong scent throw, while natural waxes like soy and coconut provide a slower, more subtle scent release.
Wicks and Holders
Wicks play a vital role in how your candle burns. The right wick ensures a steady flame and optimal scent throw. Here’s what to consider:
Wick Types: Different waxes require different wick types. For example, if you’re using soy wax, you might choose a square braid wick for larger candles.
Wick Holders: These keep your wick centered while the wax sets. You can use pre-tabbed wicks or adhesive dots to secure them in place. This step is essential for safety and performance, as a properly centered wick helps prevent uneven burning.
Here’s a quick reference table for wick recommendations based on wax type and candle size:
Wax Type | Candle Diameter | Recommended Wick Types |
|---|---|---|
Soy Wax BW921 | Tealight | HTP83 |
Votive / 2″ | HTP104, #3 Square Braid | |
2.5″ | #4 Square Braid | |
3″ | #5 Square Braid | |
3.5″ | #5, #6 Square Braid | |
4″ | #6, #7 Square Braid | |
Beeswax | Votive / 2″ | #3 Square Braid |
2.5″ | #4 Square Braid | |
3″ | #5 Square Braid | |
3.5″ | #6, #7 Square Braid | |
4″ | #7, #8 Square Braid | |
Paraffin 1239 | Votive / 2″ | #2/0 Square Braid |
2.5″ | #1/0 Square Braid | |
3″ | #1/0 Square Braid | |
3.5″ | #1 Square Braid | |
4″ | #1 Square Braid |
Fragrance and Color
Adding fragrance and color to your candles can elevate their appeal. Here’s what you need to know:
Fragrance Oils: Choose high-quality, non-phthalate fragrance oils to avoid harmful VOCs that can cause headaches or respiratory issues. Most waxes can hold around 6-12% fragrance oil, so be mindful of how much you add.
Colorants: While adding color can make your candles visually stunning, be cautious. Artificial dyes can release toxins when burned, contributing to indoor air pollution. Opt for candle-specific dyes or natural alternatives for a safer option.
Different fragrance oils and colorants can significantly impact the quality and safety of your homemade candles. For instance, larger glitter particles can interfere with wick performance, potentially causing a weaker flame or even extinguishing it.
By carefully selecting your materials, you set the foundation for beautiful and fragrant handmade candles that enhance your home décor.
Candle Making Process
Creating your own handmade candles is an exciting journey! Let’s dive into the step-by-step process to ensure you make candles that not only look great but also burn beautifully.
Preparing the Workspace
Before you start, it’s essential to set up a safe and efficient workspace. Here are some key steps to follow:
Step | Description |
|---|---|
Safety Protocols | Establish burn protocols, plan emergency exit routes, and ensure access to burn treatment supplies. |
Ventilation | Ensure good airflow to protect your lungs and manage fragrance oils; use fans and air purifiers for optimal air quality. |
Temperature Control | Maintain ambient temperature around 70°F (21°C) and preheat containers to improve adhesion; avoid drafts. |
Workspace Organization | Use a sturdy, flat surface, keep tools organized, and have dedicated zones for different tasks. |
Cleaning Routines | Establish daily cleaning practices to maintain a tidy workspace and prevent cross-contamination. |
By following these steps, you’ll create a workspace that promotes safety and efficiency, making your candle-making experience enjoyable.
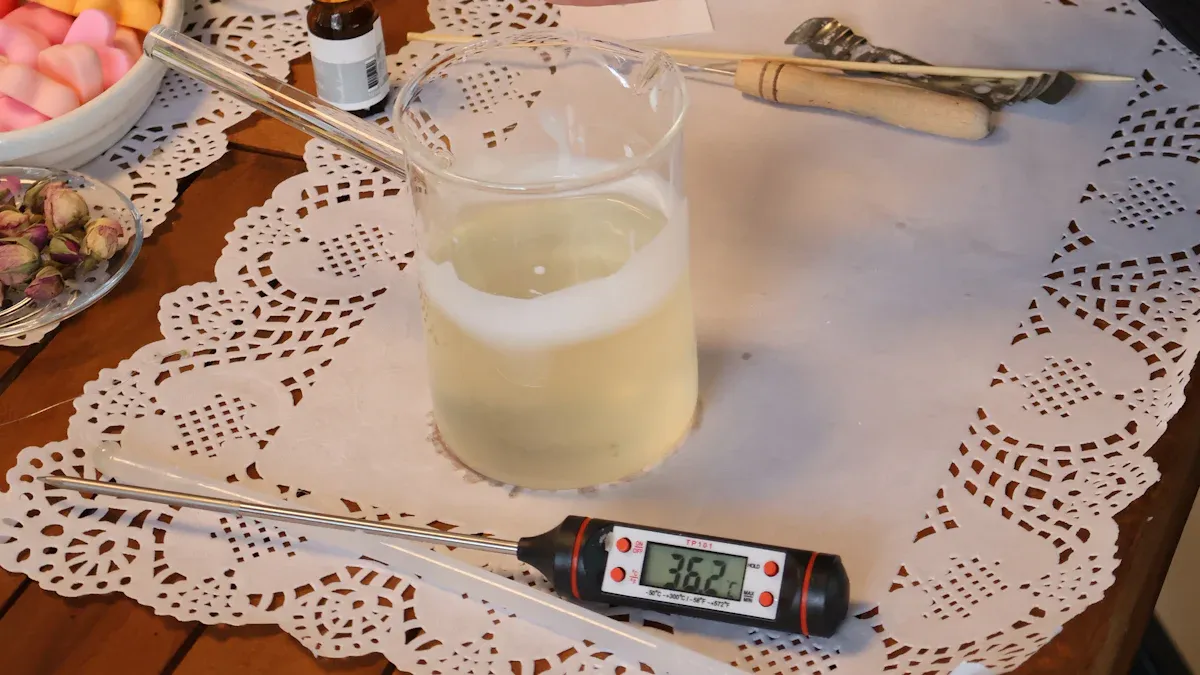
Melting and Adding Fragrance
Now that your workspace is ready, it’s time to melt the wax. Here’s how to do it right:
Measure Your Wax: Use a kitchen scale to weigh out the amount of wax you need. This ensures consistency in your candles.
Heat the Wax: Place the wax in a double boiler or a dedicated melting pot. Monitor the temperature closely. Different wax types have specific melting points:
Wax Type
Melting Point (°F)
Melting Point (°C)
Soy Wax
120 – 180
49 – 82
Beeswax
143 – 151
62 – 66
Paraffin Wax
120 – 160
49 – 71
Add Fragrance: Once the wax reaches the recommended temperature, let it cool slightly before adding fragrance oils. This step is crucial for even scent distribution. Follow these tips:
Add fragrance oil by weight, typically around 6-12% of the wax weight.
Stir slowly but thoroughly for 1-2 minutes to ensure the fragrance mixes well.
Pouring and Wick Stabilization
With your wax melted and scented, it’s time to pour and stabilize the wick:
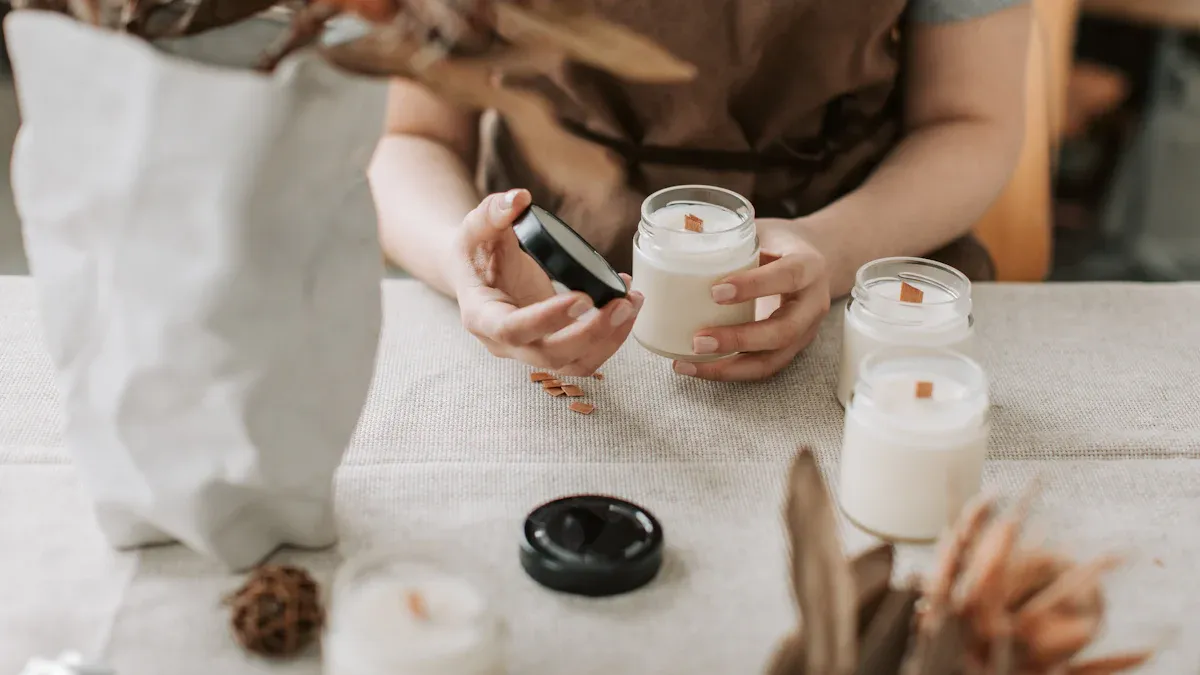
Prepare Your Containers: Make sure your containers are clean and dry. Preheat them slightly to help the wax adhere better.
Secure the Wick: Center the wick in your container using wick stickers or a dab of hot wax. This prevents it from moving during the pouring process.
Pour the Wax: Slowly pour the melted wax into your containers. Aim for a steady pour to avoid creating air bubbles.
Monitor the Cooling: Allow the candles to cool undisturbed in a draft-free area. Rushing this process can lead to cracks or uneven surfaces.
Curing Time: After pouring, let your candles cure for optimal performance. Most candle makers recommend a curing time of 1 to 2 weeks, especially for soy wax. This allows the wax to fully bind with the fragrance oils, enhancing scent throw and ensuring a cleaner burn.
By following these steps, you’ll master the art of candle making and create beautiful, fragrant candles that brighten your home.
Safety Tips for Candle Making
Handling Hot Wax
When you dive into candle making, safety should always come first. Hot wax can cause serious burns if you’re not careful. Here are some essential tips to keep in mind:
Use potholders when handling pans and other hot equipment to prevent burns.
Wear safety goggles to protect your eyes from any wax splashes.
Dress appropriately with shoes and long pants to shield your skin from hot wax droplets.
Keep a fire extinguisher nearby. If a hot wax fire occurs, using water can make things worse by causing splattering.
Have a first aid kit accessible for any minor injuries that may happen.
According to the National Fire Protection Association, an average of 21 home fires are caused by candles each year. You can avoid these incidents by following proper safety measures.
Ventilation and Fire Safety
Good ventilation is crucial when making candles. It helps minimize exposure to fumes from fragrance oils and dyes. Here are some best practices:
Ensure your workspace is well-ventilated. Open windows or use cooker vent hoods to enhance air circulation.
Avoid inhaling fragrance oils or dyes directly to prevent respiratory issues.
Keep candles at least 12 inches away from anything that burns.
Use stable holders to prevent tipping, and always blow out candles when leaving a room or going to bed.
Consider battery-operated flameless candles as a safer alternative.
By following these safety tips, you can enjoy the art of candle making while keeping yourself and your home safe.
Customizing Your Handmade Candles
Unique Shapes and Containers
When it comes to customizing your handmade candles, think outside the box! You can create unique shapes and use interesting containers that enhance your home décor. Here are some fun ideas:
Pillar Candles: Place them in minimalist glass terrariums filled with colored sand or shells for a beachy vibe.
Floating Candles: Use a fishbowl filled with water and flowers to create an elegant centerpiece.
Artistic Holders: Combine candles with artistic holders that complement your style. This can elevate the overall aesthetic of your space.
Natural Elements: Try wood dough bowl candles filled with lavender or fruit for a rustic touch.
Real Flowers: Add real flowers to plain candles for a decorative effect that brings nature indoors.
Using different materials for your containers can also affect both safety and aesthetics. For example, ceramic containers are heat resistant and come in various designs, while glass containers provide even heat distribution for a consistent burn. Check out the table below for more details:
Feature | Ceramic Containers |
|---|---|
High Temperature Resistance | Can withstand high temperatures generated when candles burn, ensuring safety during long-term use. |
Diverse Designs | Offers a variety of customizable designs, enhancing aesthetic appeal. |
Weight and Stability | Moderately heavy, providing stability and reducing the risk of being overturned. |
Seasonal and Themed Designs
Creating seasonal and themed candles can add a festive touch to your home. Think about scents that evoke memories of holidays or special occasions. For example, you might choose cinnamon spice for fall or pine forest for winter. These custom holiday label candles not only smell great but also look beautiful on display.
Here are some popular options:
Festive Icons Table Candles: Perfect for holiday gatherings.
Swan Candles: A charming addition to any décor.
Winter Woodland Candles: Capture the essence of the season.
You can even personalize your candles with colors and scents that match the theme. For instance, layer your candles with colors like white for vanilla, green for balsam fir, and red for cinnamon. This layering technique creates a stunning visual effect and enhances the overall experience of candle making.
By experimenting with shapes, containers, and seasonal designs, you can create candles that truly reflect your personality and style. So, get creative and let your imagination shine!
Making your own handmade candles is a fun and rewarding experience! You’ve learned about the materials, processes, and safety tips to create beautiful candles that brighten your home. Remember:
Don’t panic if your first candle doesn’t turn out perfectly; it’s all part of the learning process.
Clean your containers with soapy water to avoid wet spots on your candles.
Keep a candle journal to track your techniques and improvements.
Handmade candles not only fill your space with delightful fragrances but also reflect your personal style. So, get creative! Experiment with different shapes, colors, and scents. Enjoy the journey of crafting candles that bring warmth and charm to your home. 🕯️✨
FAQ
What type of wax is best for beginners?
For beginners, soy wax is a great choice. It’s easy to work with, burns cleanly, and holds fragrance well. Plus, it’s more forgiving if you make mistakes!
How long do homemade candles last?
Homemade candles can last anywhere from 20 to 50 hours depending on the wax type and size. Proper storage away from heat and light can help extend their lifespan.
Can I reuse old candle containers?
Absolutely! Reusing old candle containers is a fantastic way to save money and reduce waste. Just clean them thoroughly before pouring new wax.
How do I fix a candle that won’t burn evenly?
If your candle burns unevenly, try trimming the wick to about 1/4 inch before lighting. This helps control the flame and promotes even burning.
What should I do if my candle has a strong scent?
If your candle has an overpowering scent, consider using less fragrance oil next time. Aim for 6-10% of the wax weight for a balanced aroma.
