
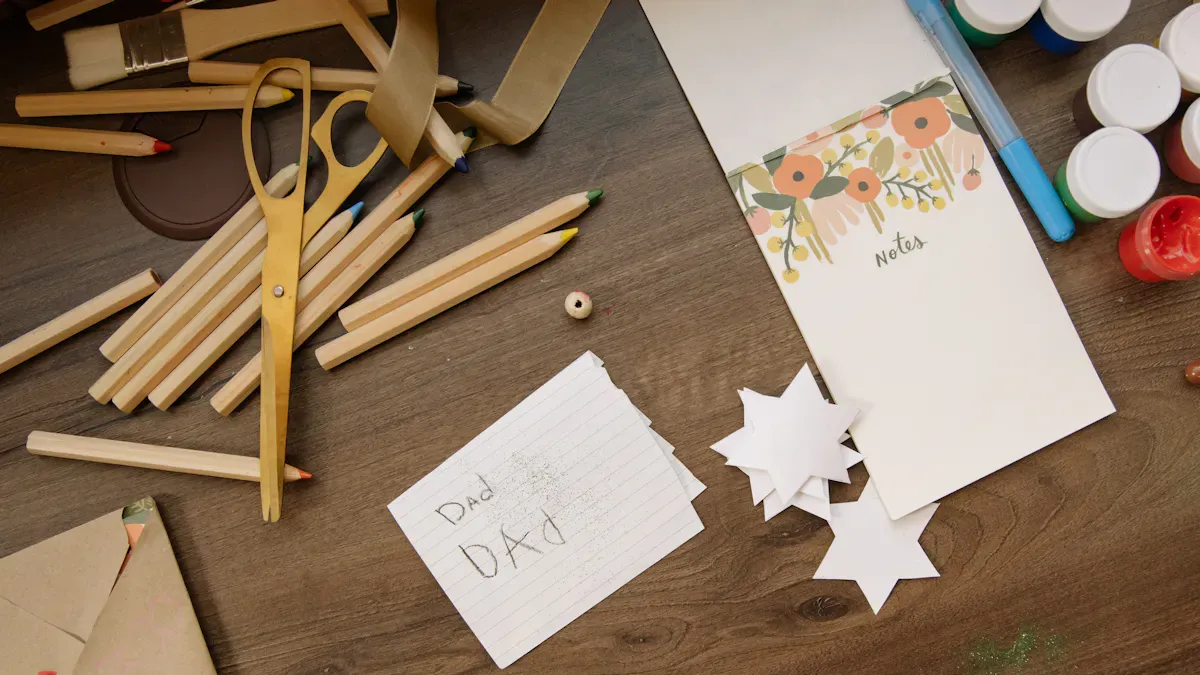
Crafting lets you be creative. Learning some basic craft techniques is important for beginners. Did you know that 71% of Americans are crafters? This shows how popular crafting is with adults. Mastering these basic craft techniques can make you feel more confident. It can also help you be more creative. Studies say that crafting can lower anxiety. It helps you focus on what is happening now. So, why not start practicing these skills today? Enjoy the process and let your inner artist shine!
Basic Craft Techniques: Sewing and More
Hand Sewing Basics
Hand sewing is a key skill for all crafters. It helps you fix things quickly and make special projects. To start, gather your supplies: fabric, needle, and thread. Here are some important hand sewing techniques:
- Running Stitch: This easy stitch works well for seams and hems. Just push the needle in and out of the fabric in a straight line.
- Backstitch: This stitch makes a strong seam. It means sewing backward and forward, which is great for areas needing extra strength.
- Whip Stitch: Use this stitch to finish edges or join two pieces of fabric. It involves looping the thread around the edge of the fabric.
Machine Sewing Techniques
Using a sewing machine can make your projects faster. Here are some basic machine sewing techniques:
- Threading the Machine: Follow the instructions to thread your machine correctly. This step is very important for smooth sewing.
- Choosing the Right Stitch: Most machines have different stitches. Start with a straight stitch for simple sewing tasks.
- Adjusting Tension: Good tension makes even stitches. Test on scrap fabric before starting your project.
Tip: Always start slow when using a sewing machine. This practice helps you avoid accidents and mistakes.
Sewing a Button
Sewing a button is a useful skill. Here’s how to sew a button securely:
- Thread the Needle & Secure a Knot: Cut a piece of thread about 12 inches long. Tie a knot at one end.
- Create an Anchor Point: Push the needle from the back of the fabric to the front where you want the button.
- Know the Button Type: Check if your button has two holes, four holes, or is a shank button. Each type needs a different sewing method.
- Create the Shank: For four-hole and shank buttons, put a toothpick under the button while sewing to create a shank. This technique helps the button sit right on the fabric.
Here are some tools you’ll need:
- Buttons in different colors
- Needles (two slim ones are best)
- Thread (black or white)
- Scissors for cutting
- Ink fabric pen for marking button spots
Understanding Fabrics
Choosing the right fabric is very important for your projects. Different fabrics have special features that affect your crafting skills. Here’s a table showing common fabric types:
| Fabric Type | Properties | Applications |
|---|---|---|
| Denim | Heavy-duty, strong, classic | Jeans, jackets, screen printing |
| Velvet | Fancy, comfy | Dresses, upholstery, home decor |
| Fleece | Soft, warm | Winter clothes, cozy home items, embroidery |
| Satin | Smooth, shiny | Evening dresses, lingerie, fancy decor |
| Technical fabrics | Water-resistant, breathable, strong | Outdoor protective clothes |
When picking fabric, think about its features. For example, knits stretch and are good for clothing, while wovens keep their shape well for structured items.
Knowing these basic craft techniques in sewing will help you take on many projects with confidence. Whether you hand sew or use a machine, mastering these skills opens up a world of creativity.
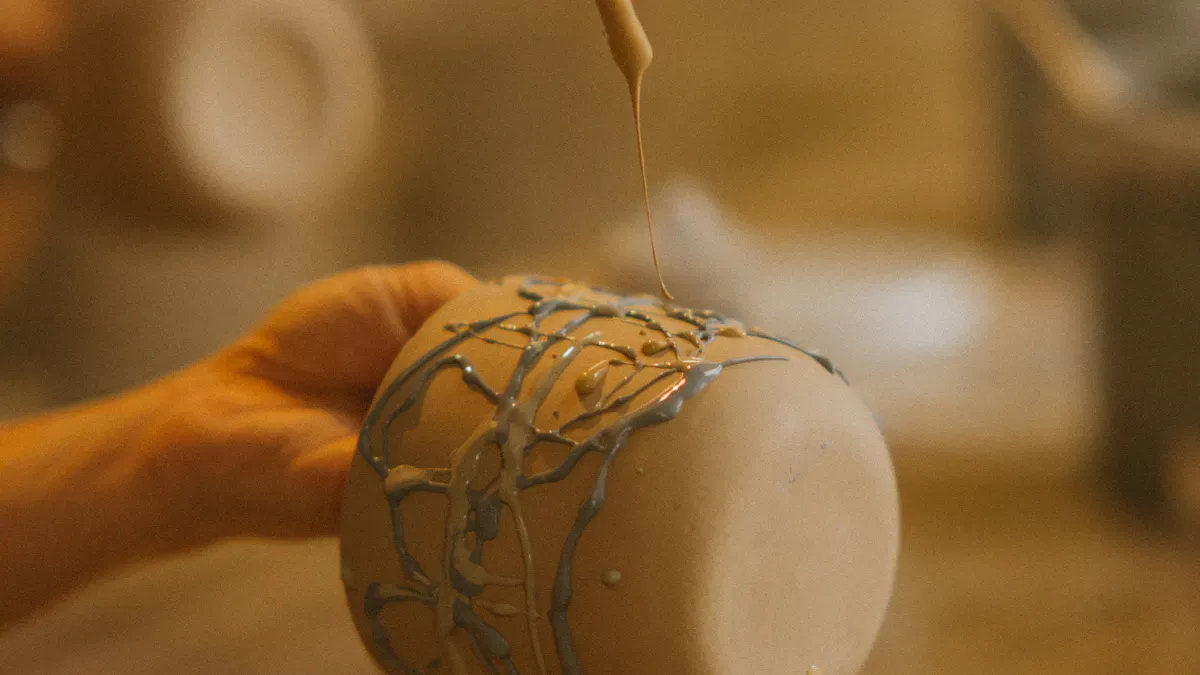
Basic Painting and Crafting Techniques
Glass Painting
Glass painting is a fun way to brighten your home. You can use a multi-surface paint kit for many projects. First, clean the glass surface so the paint sticks well. Use painter’s tape to make clean lines. Always wear protective gloves when working with glass to stay safe. After painting, let your project dry completely before showing it off.
Stenciling
Stenciling can easily change plain surfaces into pretty designs. Start by making sure your surface is clean and smooth. Use painter’s tape to hold the stencil in place so it doesn’t move. Remove extra paint from your brush or roller to stop bleeding. Tap lightly to apply paint, starting from the edges and moving to the center. Wait for the paint to dry before carefully taking off the stencil to avoid smudging.
Tip: Don’t use too much paint, as this can make a mess.
Distressing
Distressing gives furniture and crafts a vintage look. Follow these steps for a great project:
- Take off all hardware and clean the surface.
- Use a liquid sander with a dry rag.
- Spray primer on the surfaces.
- Use spray paint as the instructions say.
- Sand the top with an electric sander, starting with 80-grit sandpaper, then switch to 150-grit sandpaper.
- Manually distress areas with regular sandpaper.
This technique adds character and charm to your items.
Buffalo Check Pattern
The buffalo check pattern has a rich history, starting with North American Indigenous peoples. Now, it shows rustic charm in modern crafting. You can use this pattern in clothes and home decor. To make it, alternate between two colors in a grid pattern. This technique gives a cozy feel to any project.
By learning these crafting techniques, you can improve your creative skills and take on many projects with confidence.
Essential DIY Skills and Tools
Cutting Straight Lines
Cutting straight lines is a fundamental skill in many DIY projects. Whether you work with paper, fabric, or wood, mastering this technique ensures precision. Here’s how to achieve clean cuts:
- For Paper and Fabric: Use a craft knife along with a cutting mat. This combination allows for better control and accuracy. Always measure and mark your cut line clearly before starting.
- For Wood: When using a circular saw, mark your cut line on the wood. Set the blade depth slightly less than the thickness of the wood. Position the saw parallel to the line and cut slowly. This method helps you maintain a straight path throughout the cut.
Tip: Practice on scrap materials to build your confidence before tackling your main project.
Contact Paper Application
Applying contact paper can transform surfaces and create beautiful home decor. Follow these steps for a smooth application:
- Measure the area and cut the contact paper, leaving an extra 3 inches for safety.
- Start in a back corner, aligning the edge with the wall.
- Peel the backing away gradually, smoothing out air bubbles as you go. Use a smoothing tool to help with this.
- If larger bubbles form, gently pull up the contact paper and reapply.
Tip: Take your time during this process. Rushing can lead to mistakes and uneven surfaces.
Tassel Making
Tassels add a fun touch to various crafts. They are easy to make and require minimal materials. Here’s how to create your own:
- Materials Needed:
- Embroidery floss (available in many colors)
- Scissors
- Cardboard or a fork (to wrap the floss around)
- Tape or clips (to hold the floss in place)
- Wrap the embroidery floss around the cardboard or fork several times.
- Cut a piece of floss and tie it around the top to secure the loops.
- Trim the bottom to create the tassel shape.
Tip: Experiment with different colors and lengths to create unique tassels for your projects.
Tool Safety and Maintenance
Safety is crucial when working with DIY tools. Here are some essential guidelines to follow:
- Wear Safety Gear: Always use goggles, gloves, and ear protection when necessary.
- Keep Tools Clean: Clean your tools after each use to remove dust and debris. This practice helps maintain their functionality.
- Regular Inspections: Check your tools for signs of wear or damage. Address any issues immediately to prevent accidents.
Tip: Store your tools in a dry place and cover them when not in use to protect against dust and moisture.
By mastering these essential DIY skills and tools, you will gain confidence in your crafting abilities. Each skill you learn opens up new possibilities for your DIY projects, allowing you to create beautiful home decor and more.
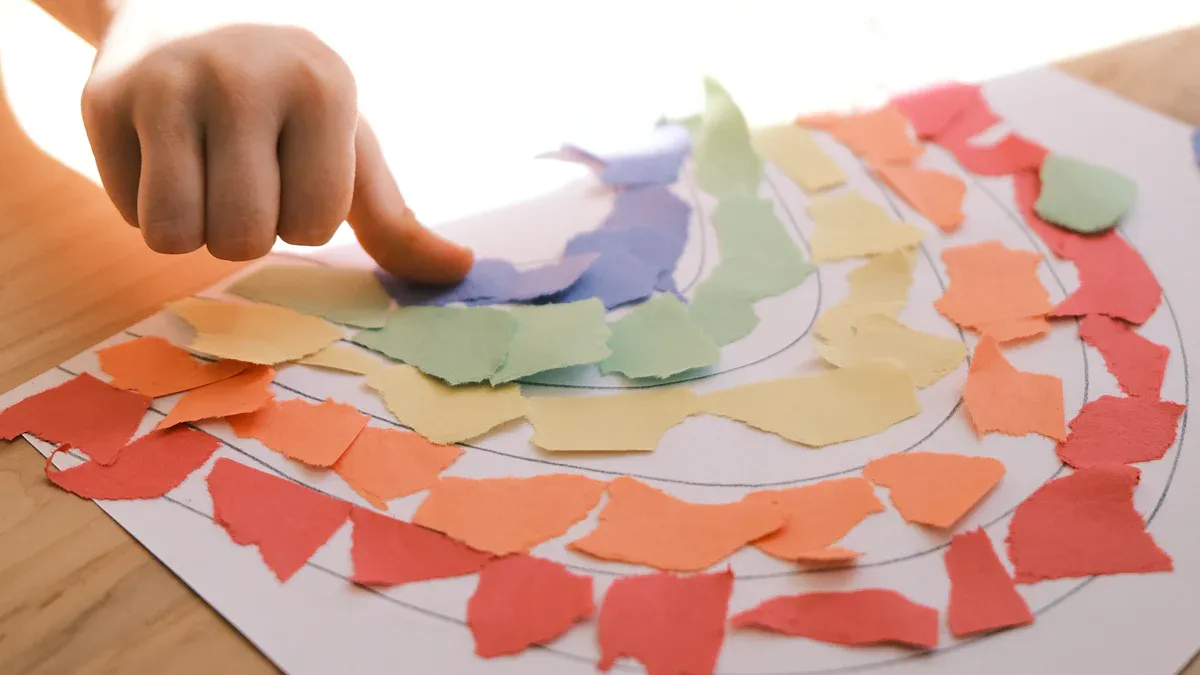
Paper and Fabric DIY Techniques
Basic Fabric Printing
Fabric printing helps you make your own designs on fabric. You can create special patterns using easy methods. Start with light or medium fabric, like cotton or linen. Gather these supplies:
- 1 tablespoon cornstarch
- ½ cup water
- Small saucepan
- Small mixing bowl or jar
- Spoon or small whisk
- Small chip brush or pastry brush
To print, mix cornstarch and water in a saucepan. Heat it until it gets thick, then let it cool. Use the brush to apply the mixture to your fabric. This method gives a nice, textured look. Be careful not to make common mistakes, like forgetting seam allowances or using bad images, which can ruin your design.
DIY Silk Screening
Silk screening, or screen printing, is a fun way to put designs on fabric. You will need some special tools for this. Here’s a list of important items:
| Material Category | Essential Items |
|---|---|
| Screens & Frames | Mesh screens (110-305 count), aluminum or wooden frames |
| Inks | Plastisol, water-based, discharge, specialty inks |
| Squeegees | Polyurethane blades (60-90 durometer) |
| Stencil Materials | Emulsion, capillary film, scoop coater |
To begin, prepare your screen and add your design. Use a squeegee to push ink through the mesh onto your fabric. This method allows for bright prints and lots of creativity.
Dip Dyeing
Dip dyeing is an easy way to make pretty color gradients on fabric. You will need:
- Fabric (cotton works best)
- Dye (fabric dye or natural dye)
- Bucket or large bowl
- Gloves
Fill your bucket with dye and water as the package says. Dip your fabric into the dye, starting at the bottom and slowly lifting it to create a gradient. Rinse the fabric in cold water after you get the color you want. This method adds a special touch to any project.
Folding and Gluing
Folding and gluing paper is important for many craft projects. Here are some good methods:
- Folding: Use a bone folder for sharp edges. This tool helps make clean folds in your paper crafts.
- Gluing: Pick the right glue for your project. Here’s a quick guide:
| Adhesive Type | Features | Usage |
|---|---|---|
| 2-in-1 Glue Pen | Fine tip for precise application | Great for detailed die-cuts |
| Double-Sided Adhesive | Permanent bond, acid-free | Ideal for lightweight paper |
| Glue Dots | Non-toxic, mess-free, waterproof | Perfect for adding dimensions |
Using the right tools makes your projects easier and more fun.
Learning basic craft techniques is important for your creative projects. These skills help you do more difficult DIY tasks with confidence. For example, if you learn to measure and cut wood well, you can build bookshelves or fix doorframes.
To improve your skills, practice often. Begin with small, easy steps. Find a partner to help you stay on track. Remember, being persistent is important. Treat mistakes as chances to learn.
