Address
304 North Cardinal
St. Dorchester Center, MA 02124
Work Hours
Monday to Friday: 7AM - 7PM
Weekend: 10AM - 5PM
Address
304 North Cardinal
St. Dorchester Center, MA 02124
Work Hours
Monday to Friday: 7AM - 7PM
Weekend: 10AM - 5PM

Welcome to the wonderful world of knitting! You’ll find immense satisfaction in learning how to knit a scarf. Not only is this project simple, but it’s also perfect for beginners. Knitting can even boost your mood and help you relax, making it a rewarding hobby to dive into.
Gather essential materials like medium-weight yarn and size 7 to 9 needles for a smooth knitting experience.
Practice casting on and the knit stitch to build your confidence and skill in knitting a scarf.
Finish your project by binding off your stitches for a neat and polished look.
Before you start your journey to knit a scarf, gather the right materials. Having the right supplies makes the process smoother and more enjoyable. Here’s what you’ll need:
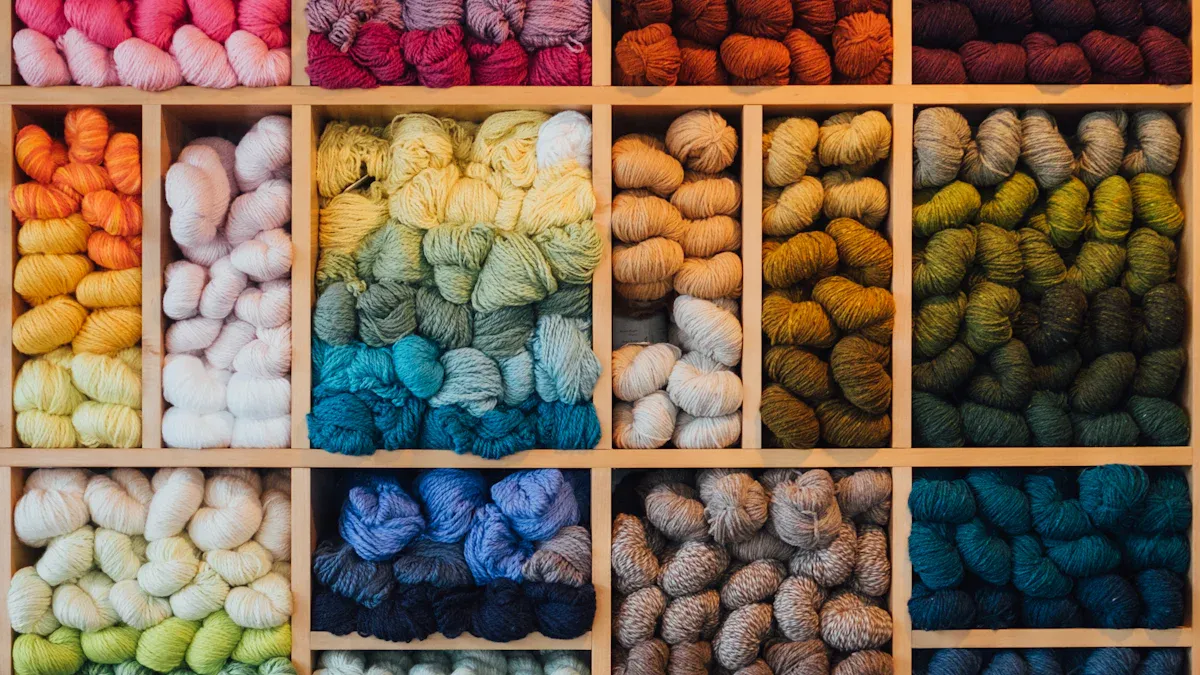
Choosing the right yarn is crucial for your scarf project. For beginners, medium-weight yarn is often the best choice. It’s easier to handle and allows you to see your stitches clearly. Here are some popular yarn types that work well for beginner scarf projects:
Yarn Type | Description |
|---|---|
Patons Roving | 100% wool, offers a clean finish and beautiful stitch definition, ideal for cabling. |
Caron Simply Soft Yarn | Light and drapey, with a subtle sheen and a wide range of colors, perfect for fall scarves. |
Bernat Roving | Soft and bulky, allows for quick and cozy stitch-work, available in vibrant colors. |
Patons Shetland Chunky | Soft wool with a chunky gauge, great for fast stitching and highlighting texture. |
Bernat Wool Up Bulky | Heavy gauge yet lightweight, perfect for oversized scarves without added weight. |
Using medium-weight yarn not only helps you see your stitches better but also speeds up your project. This can be encouraging for beginners as you’ll see progress quickly!
Next, let’s talk about needles. For medium-weight yarn, you’ll want to use needles that are size 7 to 9. Here’s a quick reference:
Yarn Weight | Common Names | Needle Size |
|---|---|---|
#4 – Medium | Worsted, Aran, Afghan | 7-9 |
You can choose between straight and circular needles. Circular needles are versatile and can hold more stitches, which is great for larger projects. They also reduce hand fatigue, making your knitting sessions more comfortable. On the other hand, straight needles are perfect for flat knitting.
Besides yarn and needles, a few extra tools can make your knitting experience smoother:
Tapestry Needle: Use it to weave in tails after finishing your scarf.
Stitch Markers: Helpful for keeping track of your pattern, especially if it’s your first project.
Measuring Tape: Essential for checking the length of your scarf as you knit.
Scissors: A sharp pair makes cutting yarn easier.
These tools will help you manage your project better and ensure a polished finish.
Now that you know what materials to gather, you’re one step closer to learning how to knit a scarf. Enjoy the process, and remember, practice makes perfect!
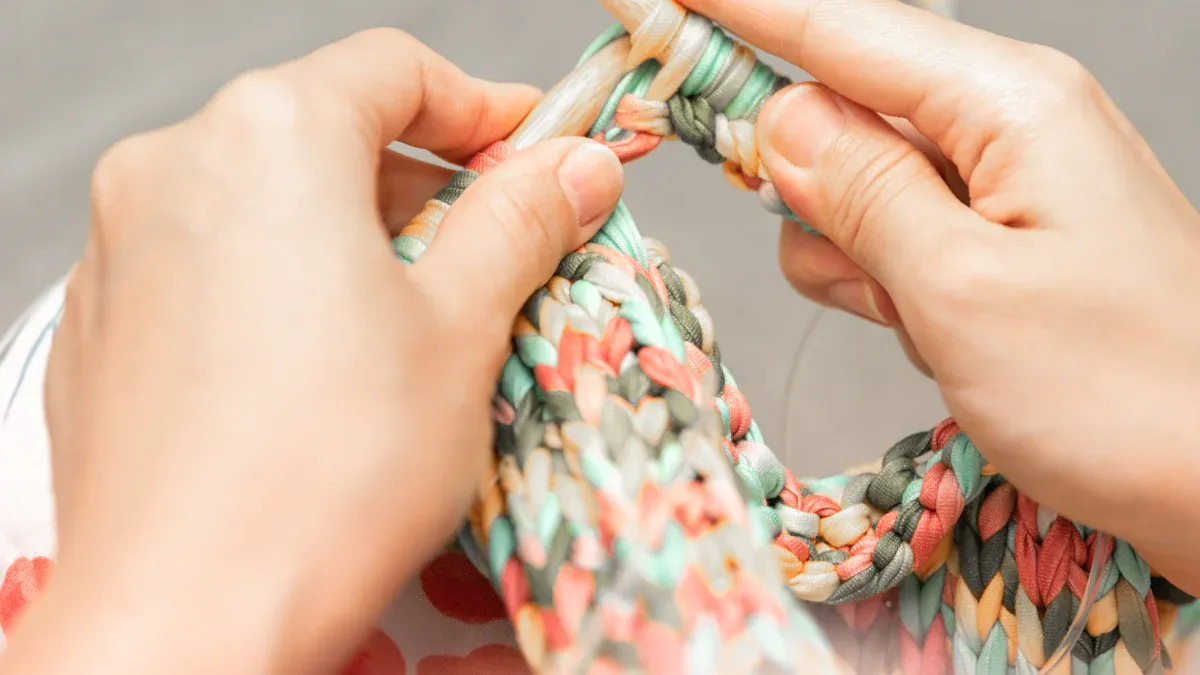
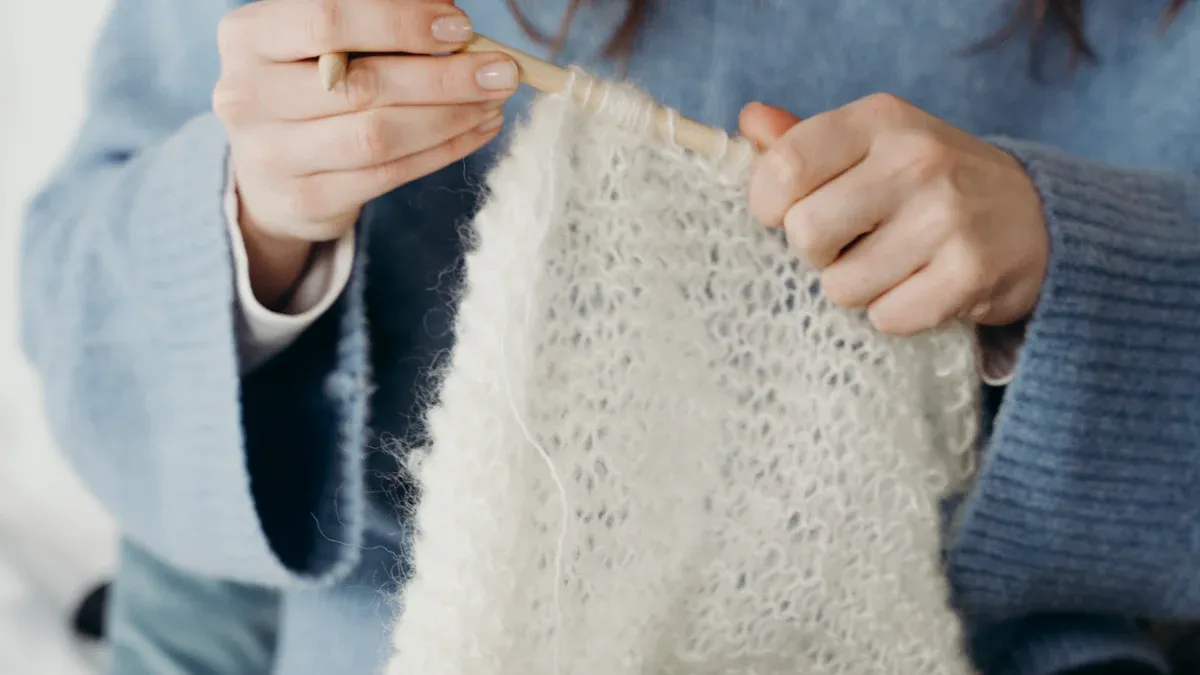
Now that you have your materials ready, it’s time to dive into the fun part: learning how to knit a scarf! This section will guide you through the essential techniques, including casting on, the knit stitch, and binding off. We’ll focus on the garter stitch, which is perfect for beginners. This stitch is created by knitting every row, resulting in a textured fabric that looks great and is easy to master.
Casting on is the first step in your knitting journey. It’s how you create the initial stitches on your needle. To start knitting a scarf, you will cast on 24 stitches. If you’re new to this technique, don’t worry! Here’s a simple step-by-step guide to help you:
Make a slip knot on the shaft of one needle. This counts as your first stitch.
Place this needle in your left hand. Hold the other needle in your right hand to control the yarn.
Insert the point of the right needle, from front to back, into the slip knot and under the left needle.
Hold the left needle still and brace the right needle with your left fingers.
With your right index finger, pick up the yarn from the ball.
Bring the yarn under and over the point of the right needle.
Draw the yarn through the stitch with the point of the right needle.
Slide the point of the left needle into the back of the new stitch, then remove the right needle.
Pull the ball yarn gently to make the stitch fit snugly on the needle.
Repeat these steps until you have 28 stitches on the left needle. This completes your cast-on row.
Remember, practicing tension is essential for consistent results in your scarf. Proper tension influences the overall appearance and fit of your knitted item. Focus on making your tension consistent to achieve the best results in scarf knitting.
Once you’ve cast on your stitches, it’s time to learn the knit stitch. This stitch is the foundation of many knitting patterns and is quite simple to perform. Here’s how to do it:
Hold the needle with stitches in your left hand. Insert the point of the right needle into the first stitch, from front to back.
With your right index finger, bring the yarn from the ball under and over the point of the right needle.
Draw the yarn through the stitch with the right needle point.
Slip the loop on the left needle off, so the new stitch is entirely on the right needle.
Repeat these steps for each stitch until the row is complete.
As you practice, you’ll find that the knit stitch becomes second nature. The more you knit, the more comfortable you’ll feel with your technique.
Binding off is the final step in completing your scarf. It secures your stitches and gives your project a neat finish. Here’s a simple way to bind off:
Knit the first two stitches.
Use the left needle to lift the first stitch over the second stitch and off the needle.
Knit another stitch, then repeat the lifting process.
Continue this until you have one stitch left on the right needle.
Cut the yarn, leaving a tail, and pull it through the last stitch to secure it.
For a tidy edge, consider binding off in pattern. This creates a flat finish that looks great on your scarf.
Now you know the basic techniques to knit a scarf! With practice, you’ll become more confident in your skills. Don’t hesitate to experiment with different patterns as you grow. Happy knitting!
Knitting a scarf is a rewarding journey! Here are the key steps you’ve learned:
Gather your materials: yarn, needles, and tools.
Cast on your stitches.
Master the knit stitch.
Bind off to finish your scarf.
Don’t hesitate to practice and try different patterns. Experimenting with various techniques, like lace or cables, enhances your skills and sparks creativity.
If you have questions or want to share your finished projects, feel free to reach out! Here are some resources to help you along the way:
Books: Comprehensive guides on knitting techniques.
YouTube Channels: Check out HappyBerry Knitting for tutorials.
Tutorials: Look for beginner projects to build your skills.
Happy knitting! 🎉
For beginners, medium-weight yarn, like worsted or aran, is ideal. It’s easy to handle and shows stitches clearly.
The time varies based on your speed and the scarf’s size. Generally, expect a few hours to a couple of days.
Absolutely! Once you master the basics, feel free to experiment with different stitch patterns to create unique designs. 🎨
