Address
304 North Cardinal
St. Dorchester Center, MA 02124
Work Hours
Monday to Friday: 7AM - 7PM
Weekend: 10AM - 5PM
Address
304 North Cardinal
St. Dorchester Center, MA 02124
Work Hours
Monday to Friday: 7AM - 7PM
Weekend: 10AM - 5PM

Starting to sew your own clothing can be one of the most exciting adventures you embark on! This fulfilling hobby lets you express your creativity and customize your wardrobe like never before. Imagine crafting unique pieces that reflect your style while saving money. Plus, sewing your own clothing offers a great way to relax and unwind. So, why not take that first step? Grab your materials, and let’s dive into the world of sewing your own clothing!
Gather essential materials like all-purpose thread, quilter’s cotton, and measuring tape before starting your sewing projects.
Learn basic sewing techniques, including threading your machine and mastering stitches like running and back stitches to build a strong foundation.
Choose beginner-friendly patterns that feature simple shapes and minimal closures to make your first sewing experience enjoyable.
Practice measuring accurately to select the right pattern size, as sizing can vary between brands and patterns.
Don’t hesitate to troubleshoot common sewing issues like thread breakage or skipped stitches; regular practice and maintenance will improve your skills.
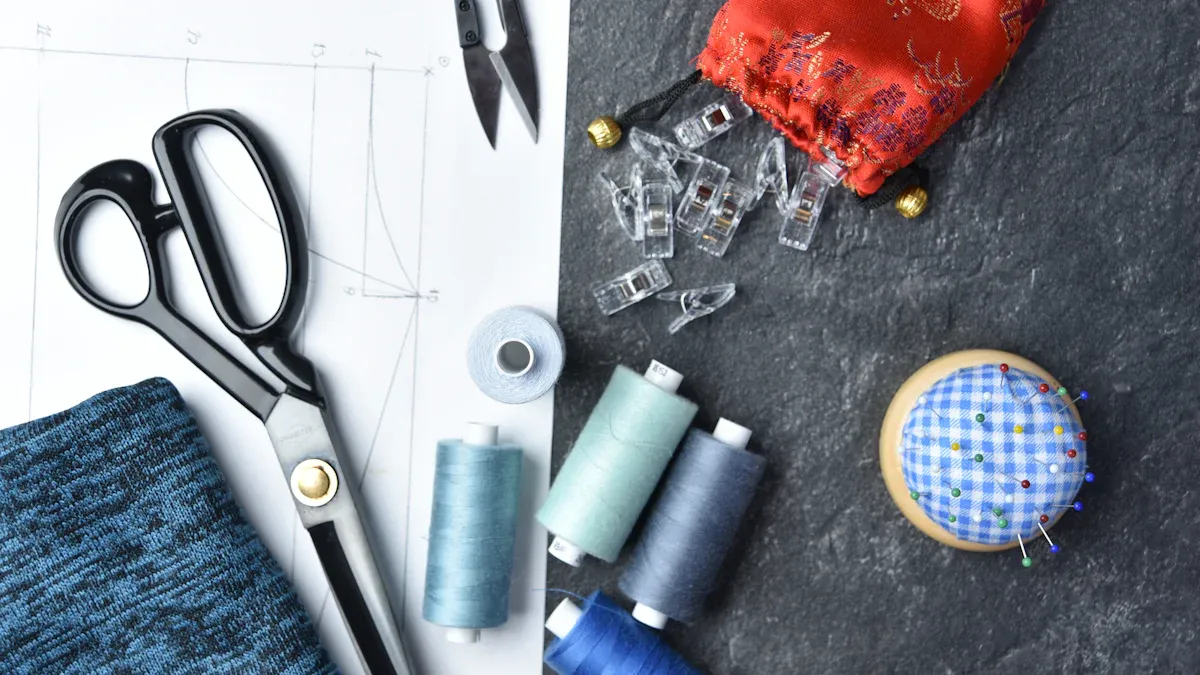
Before you start sewing, gather some essential materials. These items will help you create beautiful projects without frustration. Here’s a list of what you’ll need:
All-purpose thread: This is perfect for most projects.
Quilter’s cotton: It’s the easiest fabric to work with for beginners. You can make simple items like pajama shorts or tote bags.
Measuring tape: Having a couple of these handy makes measuring easier.
Pins: Use these to hold fabric pieces together while you sew.
Sewing marker: This helps you mark stitches and cutting lines.
Extra bobbins: These are great for managing different colored threads.
Now that you have your materials, let’s talk about the tools you’ll need. Here’s a handy list of sewing essentials:
Craft scissors: Use these for cutting paper patterns without dulling your fabric scissors.
Seam ripper: This tool is essential for correcting mistakes.
Iron and ironing board: Pressing seams is crucial for a professional finish.
Sewing clips: These are a great alternative to pins, especially for delicate fabrics.
Rotary cutter and cutting mat: These tools help you cut fabric accurately.
Having the right materials and tools makes a huge difference in your sewing experience. Start with beginner-friendly fabrics like quilting cotton, and you’ll find that your projects come together smoothly. Remember, practice makes perfect, so don’t hesitate to experiment and learn as you go!
Threading your sewing machine might seem tricky at first, but once you get the hang of it, you’ll find it’s a straightforward process. Here’s a step-by-step guide to help you thread your machine correctly:
Place the spool of thread on the thread spool pin and secure it with the thread spool cap.
Follow the illustrations on your machine to guide the thread to the bobbin winder.
Place a bobbin on the bobbin threader and lightly thread it.
Slide the bobbin to the right to lock it into position with the bobbin winder.
Wind the bobbin by pressing the start/stop button or using the foot controller.
Once the bobbin is full, slide it to the left to remove it from the bobbin winder.
Insert the wound bobbin into the bobbin case, ensuring the thread comes to the surface correctly.
Replace the bobbin cover.
Re-position the thread at the top of the machine to thread the needle, following the machine’s illustrations.
Use the thread cutter to cut the thread and lower the needle threader lever to automatically thread the needle.
Tip: Always wind the handwheel toward yourself to ensure the needle is at its highest point before threading. This prevents tangling and makes the process smoother. Also, remember to thread with the presser foot up to avoid tension issues.
Now that you know how to thread your machine, let’s dive into some basic stitches every beginner should learn. Mastering these stitches will give you a solid foundation for your sewing projects:
Running Stitch: This is the most basic stitch. Use it for fixing small tears, hems, and closing small holes.
Back Stitch: This stitch is stronger and great for materials under tension. It’s perfect for reattaching zippers and providing durability.
Ladder Stitch: Use this stitch for hemming and closing seams invisibly, giving your projects a polished look.
Practicing these stitches on scrap fabric is a fantastic way to improve your skills. Here are some effective methods to help you practice:
Keep a box of scrap fabric handy for quick practice sessions.
Use scraps for small projects like pocket bags or bias tape to enhance your skill development.
Regular practice helps you refine your techniques and develop hand-eye coordination.
Remember, the initial years of sewing require focused practice to build muscle memory. Don’t be afraid to make mistakes; they’re part of the learning process!
When you’re ready to start sewing, selecting your first pattern can feel overwhelming. But don’t worry! You can find plenty of beginner-friendly patterns that make the process enjoyable. Here are some popular options you might consider:
Stevie Tunic
Jaimie Pyjama Bottoms + Shorts
Samara Top
Cleo Pinafore + Dungaree Dress
Joe Pyjama Bottoms + Shorts
Love at First Stitch – Demystifying Dressmaking
These patterns are designed with beginners in mind, featuring simple shapes and minimal closures. You can explore a wide range of patterns at Seamwork, which offers over 200 options, including many that are perfect for beginners.
Understanding sizing is crucial when selecting your pattern. Unlike ready-to-wear clothing, sewing patterns often have different sizing charts. Here are some key factors to keep in mind:
Measure yourself while wearing your usual undergarments for accurate bust measurements.
Use a soft tape measure and a full-length mirror to check your measurements:
Bust: Measure across the fullest point while keeping your arms down.
Waist: Measure around the narrowest part of your torso.
Hips: Measure around the widest point of your hips.
Ensure the tape measure is parallel to the floor.
Record additional measurements if necessary, such as sitting waist and high bust.
Find your pattern size by comparing your measurements to the Body Measurements chart in the pattern instructions.
Sizing charts from different companies can vary significantly. A size 18 in one brand may not correspond to the same measurements in another. Always refer to the specific sizing chart for the pattern you are considering. This ensures you choose the right size for a comfortable fit.
By keeping these tips in mind, you’ll feel more confident in selecting your first pattern and getting started on your sewing journey!
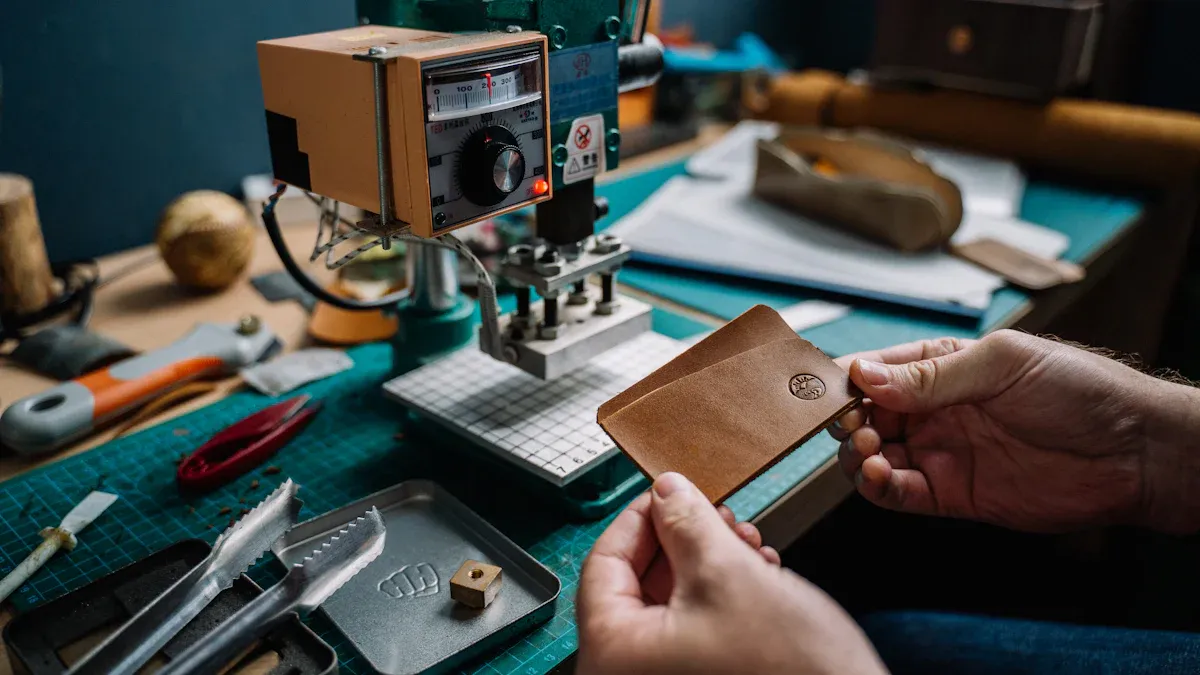
Sewing a tote bag is a fantastic project for beginners. It’s simple, practical, and a great way to practice your skills. Here’s how to sew your own tote bag in just a few steps:
Cut out fabric: Start by cutting two pieces of fabric measuring 14” x 14” for the main body. For the handles, cut two pieces measuring 4” x 22”. If you want a lining, cut two more pieces of fabric the same size as the main body.
Make the bag handles: Fold each handle piece in half lengthwise and press it. Then, open it up and fold the edges toward the center crease. Press again, and stitch along the open edge to secure the folds.
Construct the body of the bag: Take the two main body pieces and stitch the side seams and bottom together, leaving the top open. Repeat this step for the lining pieces.
Create pleats for a flat bottom: To give your bag a flat bottom, fold the corners of the bag, mark a 2” line from the corner, and stitch across. Clip the corners to reduce bulk.
Assemble the bag: Insert the lining into the exterior bag, ensuring the right sides are facing each other. Pin the handles in place, making sure they are aligned correctly. Stitch around the top edge to secure everything.
Finish the bag: Turn the bag right side out through the opening in the lining. Press the bag and topstitch around the top edge for a polished finish.
Tip: If you find it tricky to keep the handles in place while sewing, use Scotch tape to temporarily hold them down. This will help prevent them from shifting.
Making your own skirt is another great beginner project. It’s a fun way to express your style and learn new techniques. Follow these steps to sew a simple skirt:
Measure and cut the fabric: Start by measuring your waist and desired skirt length. Cut your fabric according to these measurements, adding an extra inch for seam allowances.
Sew the side seams: With the right sides together, sew the side seams of the skirt. You can use French seams for a neat finish or zigzag down the raw edges if you prefer.
Attach the waistband: Cut a strip of fabric for the waistband. Fold it in half lengthwise, press, and then attach it to the top of the skirt. Make sure to leave an opening for inserting elastic or a zipper.
Insert a zipper or elastic: If you’re using a zipper, sew it into the opening you left in the waistband. If you’re using elastic, thread it through the waistband and secure it.
Hem the bottom edge: Fold the bottom edge of the skirt up by about half an inch and press. Then, fold it up again and stitch to create a clean hem.
Add any desired finishing touches: Feel free to add pockets or decorative details to personalize your skirt!
Note: Beginners often choose patterns that are too complicated. Stick to simple designs to build your skills gradually. Also, remember to focus on measurements rather than sizes when selecting your pattern.
By following these steps, you’ll be well on your way to sewing your own clothes. Enjoy the process and don’t hesitate to make adjustments as you go!
As you start your sewing journey, you might encounter a few hiccups along the way. Here are some common problems you may face:
Needle thread breakage
Bobbin or looper thread breakage
Skipped stitches
Imbalanced or variable stitching
These issues can be frustrating, but don’t worry! You can easily troubleshoot them with a little guidance.
Here are some effective solutions to help you tackle those pesky sewing problems:
Check the Needle: Ensure you’re using the right needle for your fabric and thread. A dull or bent needle can lead to skipped stitches.
Rethread the Machine: Sometimes, improper threading causes tension issues. Rethreading both the top and bobbin thread can resolve this.
Match the Top and Bobbin Thread: Using the same type of thread for both can help avoid tension discrepancies.
Adjust Tension: If your stitches look uneven, check the tension settings. You might need to tweak both the top and bottom tensions.
Clean and Oil the Machine: Regular maintenance prevents lint buildup, which can cause tension problems.
If you find yourself struggling with uneven stitches, consider these best practices:
Best Practice | Description |
|---|---|
Test different needle sizes | Experiment with various needle sizes to find the best fit for your fabric and project. |
Adjust tension | Ensure that both top and bottom tension are correctly set to achieve even stitches. |
Use presser feet with guides | A presser foot with a guide can help maintain a straight stitch line, improving stitch uniformity. |
Try longer stitch lengths | For thicker fabrics or multiple layers, using a longer stitch length can enhance the appearance of topstitching. |
Joining sewing communities can also be a great way to find support and advice. Here are some active forums where you can connect with fellow beginners:
Forum Name | Description |
|---|---|
The Sewing Forum | A UK-based forum with a wealth of information and a friendly community feel. |
The Sew Weekly Sewing Circle | A welcoming space for sharing projects and advice. |
Colette Patterns’ Forum | A supportive area for beginners to connect and learn. |
Stitcher’s Guild | A message board for various sewing discussions and support. |
SewShare | A community with a Reddit-like vibe, featuring sections for beginners and project sharing. |
With these tips and resources, you’ll be well-equipped to handle any sewing challenges that come your way. Remember, every expert was once a beginner, so keep practicing and don’t hesitate to seek help when needed!
Sewing is a journey, and every stitch you take brings you closer to mastery. Keep practicing your skills and don’t shy away from more advanced projects like pattern making or decorative stitching. Remember, every expert was once a beginner!
Consider keeping a sewing journal to track your progress. It helps you identify your favorite styles and improve your techniques. Plus, it’s a great way to connect with fellow sewing enthusiasts!
Stay patient and persistent, and soon you’ll find joy in every project you create.
