Address
304 North Cardinal
St. Dorchester Center, MA 02124
Work Hours
Monday to Friday: 7AM - 7PM
Weekend: 10AM - 5PM
Address
304 North Cardinal
St. Dorchester Center, MA 02124
Work Hours
Monday to Friday: 7AM - 7PM
Weekend: 10AM - 5PM

Starting a new hobby like knitting can be thrilling! If you want to start knitting, you’ll find that anyone can learn to knit with the right materials and techniques. Imagine the satisfaction of creating something handmade. Plus, there are wonderful psychological benefits to knitting. It can boost your mood, keep your mind sharp, and reduce stress. So, let’s dive into this creative journey together and start knitting!
Choose the right materials. Start with size 7 to 9 needles and worsted-weight yarn for a comfortable knitting experience.
Master essential techniques. Focus on casting on, the knit stitch, and the purl stitch to build a strong foundation.
Pick a simple first project. A scarf or dishcloth is perfect for beginners to practice skills without feeling overwhelmed.
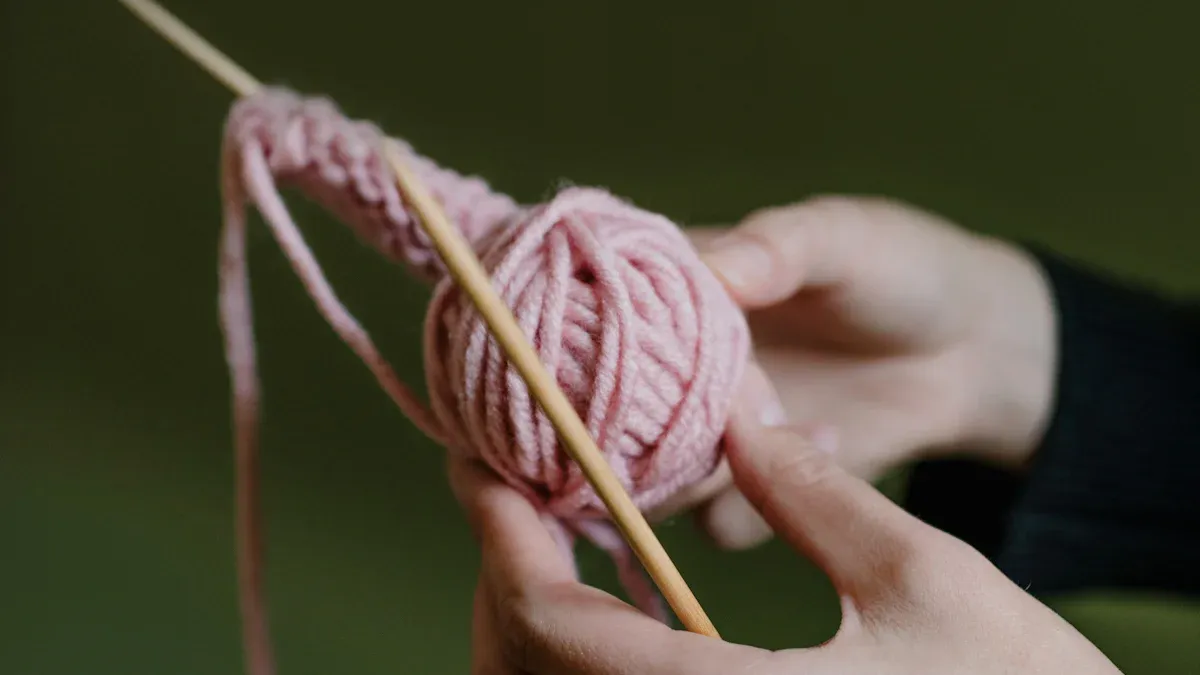
When you start your knitting journey, choosing the right materials is crucial. The two main components you’ll need are needles and yarn. Let’s break down each one.
Knitting needles come in various sizes and materials, and selecting the right ones can make a big difference in your experience. For beginners, here are some key points to consider:
Sizes: Most beginner knitters find sizes 7 to 9 (4.5mm to 5.5mm) to be the most comfortable. These sizes work well with worsted-weight yarn, which is a popular choice for new projects.
Materials: The material of your needles affects how easily you can knit. Here are some options:
Bamboo: Lightweight and eco-friendly, bamboo needles provide a gentle grip, making them ideal for beginners. They help prevent stitches from sliding off too easily.
Laminated Wood: These needles offer warmth and a smooth surface, reducing strain during long knitting sessions.
Aluminum: Lightweight and balanced, aluminum needles are practical for new knitters who want a bit of speed in their work.
Visiting a craft store can be incredibly helpful. You can feel different needle materials and see which ones you prefer. Plus, many stores offer starter kits that include essential tools, simplifying your initial setup.
Choosing the right yarn is just as important as selecting your needles. Here are some tips to guide you:
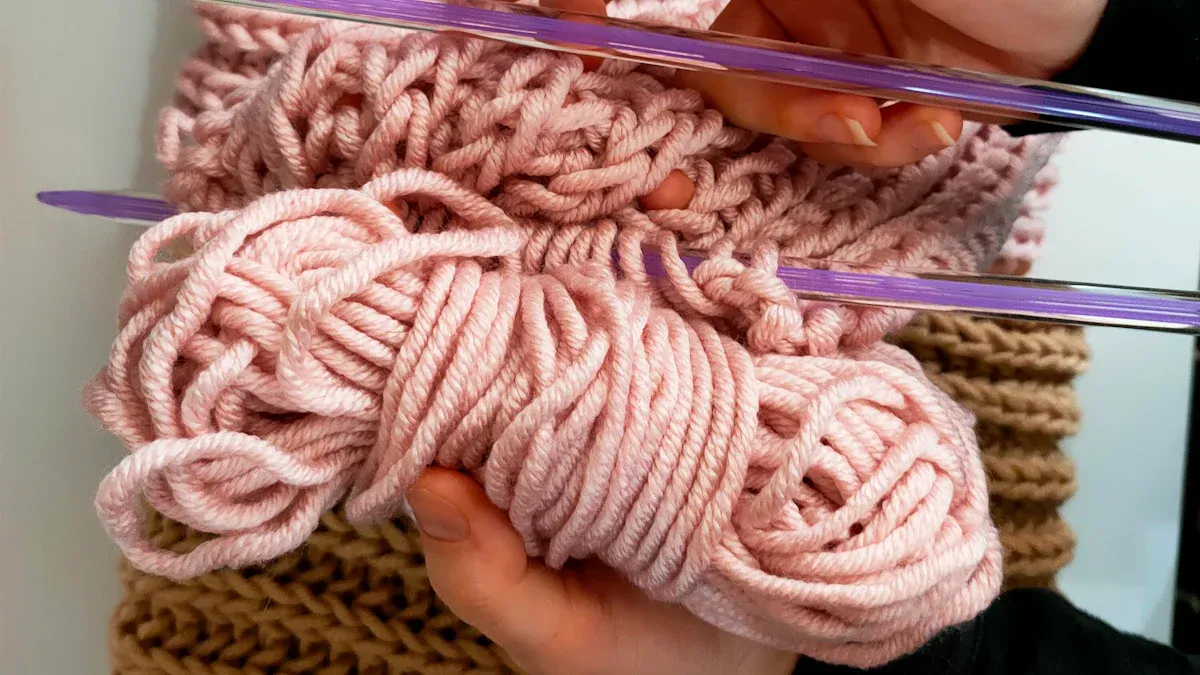
Weight: Yarn comes in various weights, from lace to bulky. For beginners, worsted-weight yarn is a great choice. It’s thick enough to see your stitches clearly but not so thick that it becomes difficult to manage.
Fiber Content: Different fibers have unique qualities. Acrylic yarn is budget-friendly and comes in many colors, making it a popular choice for beginners. However, if you want something softer, consider cotton or wool blends.
Cost: Your initial investment for basic supplies can range from $10 to $30. Inexpensive acrylic yarn typically costs between $2 and $4 per package. If you’re looking for higher-quality yarns, expect to pay between $5 and $18 each. For a simple scarf, you might spend around $5 to $10 on acrylics or $10 to $40 on higher-quality options.
As a beginner, it’s easy to make mistakes when choosing yarn and needles. Here are some common pitfalls to avoid:
Choosing the wrong yarn: Many beginners pick yarn based on color rather than suitability for their project. Always check the yarn weight and fiber type for your intended design.
Using the wrong cast-on method: Different projects may require specific cast-on techniques. Make sure to follow the instructions for optimal results.
Knitting too tightly: Gripping your needles too hard can lead to overly tight stitches. Relax your grip to keep your knitting flowing smoothly.
Not keeping track of row counts: Losing track of your rows can lead to confusion. Keep a notebook or use a row counter to stay organized.
By understanding these basics about needles and yarn, you’ll set yourself up for success in your beginner knitting projects.
As you embark on your knitting journey, mastering a few essential techniques will set you up for success. Let’s explore the foundational skills of casting on, the knit stitch, and the purl stitch. These techniques will help you create beautiful projects and understand how yarn moves to form stitches.
Casting on is the first step in any knitting project. It’s how you create the initial stitches on your needle. Here’s a simple way to cast on:
Make a slip knot with a long tail (about 1 wrap around your needle per stitch needed plus an extra 6 inches) and place it on your right needle with the yarn tail in front and the working yarn in back.
Hold both strands of yarn in your palm, keeping them in the same position. Insert your thumb and index finger between the two strands.
Pull your fingers apart to form a triangle with the yarn.
Bring the needle tip under the yarn at the base of your thumb from bottom to top.
Wrap the needle over the back strand of yarn (around your index finger) and scoop it underneath the yarn strand from top to bottom, pulling it through the loop created by your fingers.
Tighten the loop on your needle. That’s one stitch cast on!
Repeat these steps until you have the number of stitches you need.
Casting on may feel tricky at first, but with practice, you’ll get the hang of it. Remember, this is your foundation, so take your time!
Once you’ve cast on your stitches, it’s time to learn the knit stitch. This stitch creates a smooth, textured fabric that’s perfect for many projects. Here’s how to do it:
Hold your needle with the cast-on stitches in your left hand and the empty needle in your right.
Insert the tip of the right needle into the first stitch on the left needle from front to back.
Wrap the working yarn around the right needle counterclockwise.
Pull the right needle back through the stitch, bringing the new loop with it.
Slide the old stitch off the left needle, leaving the new stitch on the right needle.
You’ll repeat this process across the row. The knit stitch is the most basic stitch and forms the basis for many patterns. As you practice, you’ll notice how the fabric begins to take shape.
Tip: Using wooden needles can help you grip the yarn better, making it easier to control your stitches.
The purl stitch is the mirror image of the knit stitch. It may feel a bit awkward at first, but don’t worry! Here’s how to do it:
Hold your needle with the stitches in your left hand and the empty needle in your right.
Position the working yarn in front of your work.
Insert the tip of the right needle into the first stitch on the left needle from back to front.
Wrap the working yarn around the right needle counterclockwise.
Pull the right needle back through the stitch, bringing the new loop with it.
Slide the old stitch off the left needle.
Many beginners find the purl stitch challenging because of the different yarn positioning. However, with practice, you’ll become comfortable with it.
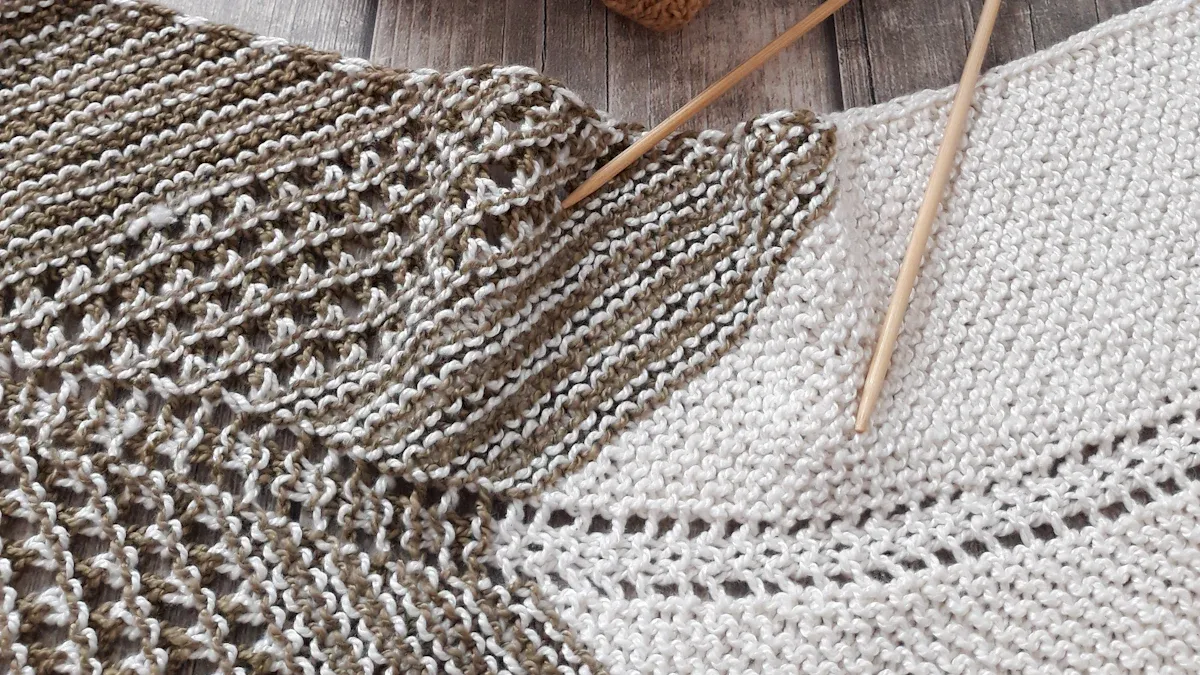
The combination of knit and purl stitches allows you to create various textures and patterns. For example, the basket stitch combines both to create a unique look that’s visually interesting and reversible.
As you learn these techniques, you might encounter some common pitfalls. Here’s a quick table of mistakes and how to fix them:
Mistake | Description | How to Fix |
|---|---|---|
Knitting in the Wrong Direction | You might accidentally knit in the opposite direction after putting down your work. | Unknit or rip stitches back to the mistake and ensure the working yarn is in the correct position. |
Too Tight Stitches | Stitches may be too tight, making it hard to insert the needle. | Push stitches back onto the needle and hold yarn loosely to create even stitches. |
Dropped Stitch | A common issue where a stitch is accidentally dropped. | Mark the dropped stitch and use a repair hook to fix it. |
By practicing these techniques and being mindful of common mistakes, you’ll gain confidence in your knitting skills. Remember, every expert was once a beginner, so enjoy the learning process!
When you start knitting, picking a simple first project is key to building your confidence. A scarf or dishcloth makes a great choice for beginners. These projects are straightforward and allow you to practice your skills without feeling overwhelmed. Here are some factors to consider when choosing your first project:
Start with simple shapes and construction methods to avoid overwhelming complexity.
Choose a project that excites you personally, like a hat or scarf.
Ensure patterns are size inclusive to accommodate a variety of body shapes.
According to craft community surveys, here are some popular beginner projects:
Project Type | Percentage of Respondents |
|---|---|
Afghans | 55% |
Baby Blankets | 50% |
Scarves | 50% |
Ready to knit your first project? Let’s make a basic scarf! Follow these steps:
Cast on 24 stitches.
Row 1: Slip the first stitch, then knit every stitch to the end of the row.
Repeat Row 1 until the scarf measures 63″/162cm or your desired length.
Bind off all stitches.
Weave in your ends to finish off.
Gently hand wash your finished scarf and lay it flat to dry.
For additional help, you can check out a video demonstration of the techniques needed for this project here.
As you work on your first project, remember that knitting can be slow, especially for beginners. A small dishcloth may take a couple of weeks to complete. Patience is essential, so start with smaller projects or heavier yarn to help you along the way.
“I could not figure it out. Not even a little. I read the book. None of it made sense to me.”
This quote reflects the common struggles beginners face. Don’t worry; with practice, you’ll get the hang of it!
You’ve learned the basics of knitting, from selecting the right materials to mastering essential techniques. Now, gather your supplies and start your first project! Remember these tips:
Read your pattern twice before starting.
Count your cast-on stitches multiple times.
Don’t hesitate to seek help if you face challenges.
Regular practice will boost your skills and confidence. Enjoy the process of creating something unique and handmade.
Acrylic yarn is great for beginners. It’s affordable, easy to work with, and comes in many colors.
You can learn basic knitting in a few hours. Mastery takes practice, so be patient with yourself!
Absolutely! You can create your own designs. Just start with basic stitches and let your creativity flow! 🎨
