Address
304 North Cardinal
St. Dorchester Center, MA 02124
Work Hours
Monday to Friday: 7AM - 7PM
Weekend: 10AM - 5PM
Address
304 North Cardinal
St. Dorchester Center, MA 02124
Work Hours
Monday to Friday: 7AM - 7PM
Weekend: 10AM - 5PM

Personalizing your home can bring immense joy. Simple DIY home décor projects let you express your style without breaking the bank. Over 60% of homeowners in the U.S. dive into DIY every year, enjoying the emotional satisfaction of creating unique pieces. Plus, these easy DIY home décor projects are perfect for beginners looking to add character to their spaces.
DIY home décor projects allow you to personalize your space without spending a lot. Start with simple projects like canvas painting or photo collages to express your style.
Peel and stick wallpaper is an easy, renter-friendly option to refresh any room. It offers a variety of designs and can be applied without mess.
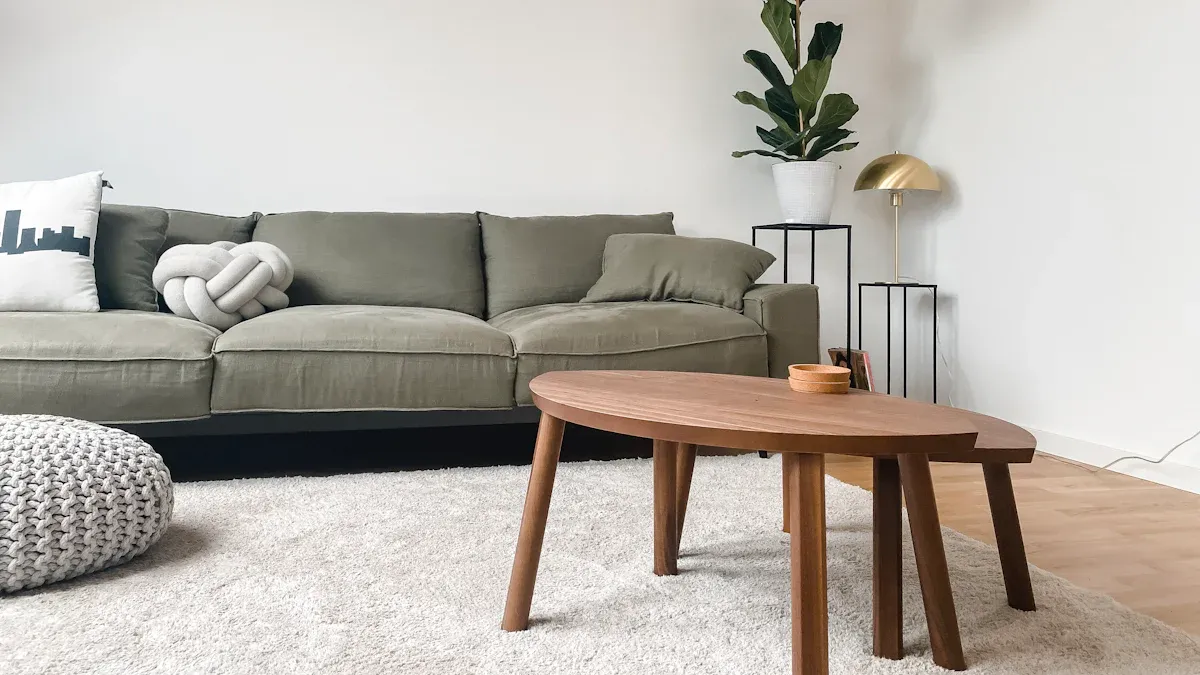
Upcycling furniture, like side tables and chairs, can dramatically change your home’s look. Use bright colors and quality paint for a stylish finish.
Creating wall art is a fantastic way to personalize your space. You can easily transform blank walls into stunning focal points with a few simple DIY projects. Let’s explore three popular options that are perfect for beginners.
Canvas painting is a fun and creative way to express yourself. You don’t need to be a professional artist to create something beautiful. Here are some tips to get you started:
Choose the Right Canvas: You can find primed canvases at craft stores. They come in various sizes, so pick one that fits your space. A stretched canvas is a great option for beginners since it’s ready to paint on.
Use Affordable Paints: Acrylic paints are budget-friendly and easy to work with. They dry quickly and allow for layering, which is perfect for experimenting.
Start with Gesso: Applying gesso prepares your canvas and helps the paint adhere better. This step is crucial for achieving a smooth finish.
Experiment with Techniques: Try different brush techniques like dry brushing or wet on wet. You can also use tools like sponges or palette knives to create unique textures.
Here’s a quick list of techniques to explore:
Mix acrylic paints with a pouring medium for abstract art.
Use painter’s tape for clean lines.
Incorporate stenciling for added flair.
With these tips, you’ll create stunning pieces that reflect your style.
Peel and stick wallpaper is a game-changer for DIY home décor. It’s an easy and budget-friendly way to add personality to any room. Here’s why you should consider it:
Easy Installation: You can apply it without glue, making it mess-free. Just peel off the backing and stick it to your wall!
Variety of Designs: From botanical patterns to geometric shapes, there’s a style for everyone. In 2024, popular designs include watercolor patterns and vintage motifs.
Renter-Friendly: If you’re renting, this option is perfect. You can remove it without damaging the walls.
Here are some advantages of using peel and stick wallpaper:
Self-adhesive for quick application.
Removable without leaving residue.
Available in trendy patterns and colors.
This option allows you to refresh your space without a long-term commitment.
Creating a photo collage is a wonderful way to showcase your memories. It adds a personal touch to your home décor. Here’s how to make an elegant photo collage:
Choose Your Frames: Use a mix of sizes and styles for visual interest. You can find inexpensive frames at thrift stores or online.
Plan Your Layout: Before hanging, lay out your frames on the floor. This helps you visualize the arrangement. Consider creating a grid for a clean look or an asymmetrical layout for a more casual vibe.
Use Quality Adhesives: For a durable collage, opt for acid-free glue that dries clear. UHU Stic and Mod Podge are great choices.
Here are some best practices for arranging your collage:
Best Practice | Description |
|---|---|
Create a Grid | Use smaller prints in a grid layout for a neat appearance. |
Embrace Asymmetry | Mix different frame styles for a creative layout. |
Repeat Colors | Use similar colors across pieces to create cohesion. |
With these tips, you can create a stunning photo collage that tells your story.
Upgrading your furniture can dramatically change the look of your home. You don’t need to spend a fortune to achieve a stylish and modern vibe. Here are three easy DIY projects that will help you transform your furniture without breaking the bank.
Upcycling old side tables is a fantastic way to breathe new life into your furniture. This project is not only budget-friendly but also allows you to create a unique piece that fits your style. Here’s how to do it:
Choose a bright, modern color for the main part of the table and apply it with a high-quality brush.
Ensure even paint application by working in all directions and then straight up and down.
Use a different color for the edges, applying it carefully to avoid excess paint on the tabletop.
Finish with a thin layer of lacquer for a glossy look, allowing it to dry overnight.
You can find old side tables at thrift stores or garage sales for a steal. With just a little effort, you can turn them into stunning accent pieces for your living room or bedroom.
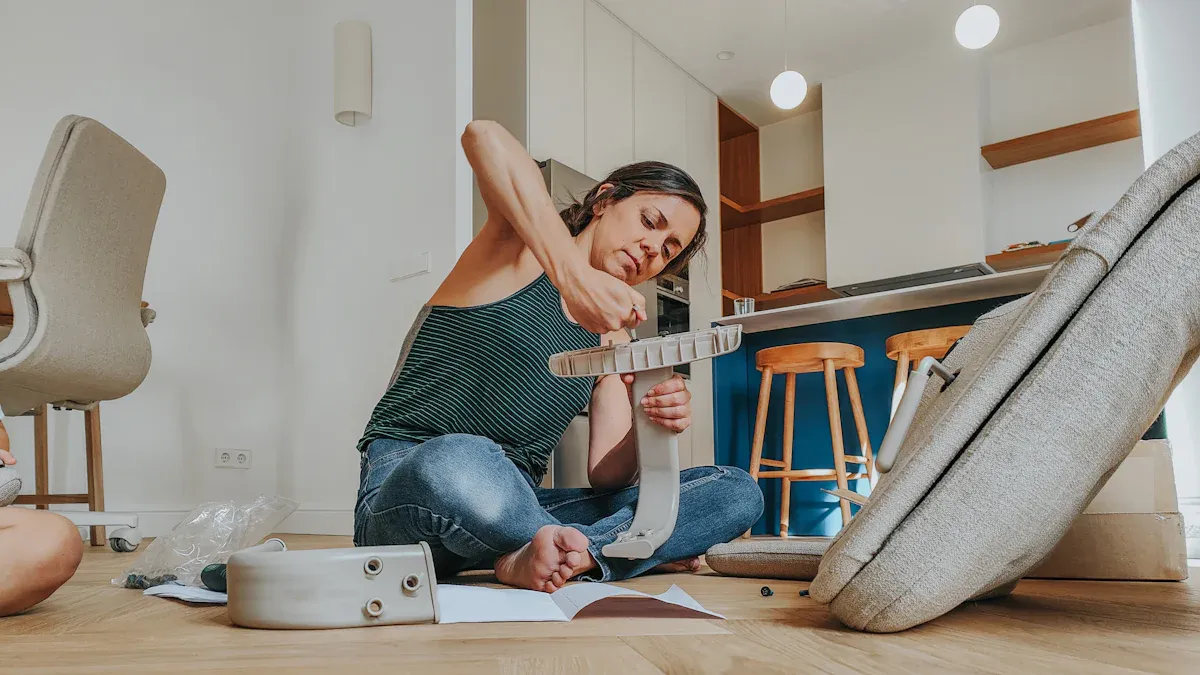
Painting chairs is another simple project that can make a big impact. Whether you have mismatched chairs or just want to refresh your dining set, this DIY project is perfect for you. Here’s what you need to know:
Choose the Right Paint: For durability, consider using Benjamin Moore Advance Alkyd Paint. It provides a brush-stroke-free finish and is easy to clean, making it ideal for families.
Prep Your Chairs: Start by cleaning the chairs thoroughly. If they have old paint or varnish, sand them down to create a smooth surface.
Apply Multiple Coats: Use thin coats of paint, allowing each coat to dry before applying the next. This technique ensures a professional-looking finish.
With a little creativity, you can turn ordinary chairs into eye-catching pieces that enhance your home décor.
Upgrading your cabinet hardware is one of the easiest ways to refresh your kitchen or bathroom. New knobs and pulls can elevate the overall look of your cabinets. Here’s how to get started:
Choose Quality Hardware: Look for durable materials that enhance both aesthetics and longevity. High-quality hardware can increase your property value and attract potential buyers.
Simple Installation: Use back plates to cover old holes when switching from pulls to knobs. This makes the transition seamless and easy.
Create a Template: To ensure accurate placement of hardware, create a simple drawer template. This will help you drill holes in the right spots without any guesswork.
Upgrading cabinet hardware is a small change that can have a big impact on your home’s overall look.
By tackling these easy DIY home décor projects, you can create a stylish and personalized space that reflects your taste. Remember, the key to successful furniture upgrades is to have fun and let your creativity shine!
Adding small DIY home décor accessories can truly elevate your space. These projects are not only practical but also allow you to express your creativity. Let’s dive into three fun and easy projects you can tackle!
Floating shelves are a stylish way to display your favorite items. They’re simple to make and can fit any room. Here’s what you need:
Material/Tool | Description |
|---|---|
Lumber | Use 2×4, plywood, or 1×10 boards for the shelf. |
GRK Rugged Structural Screws | Essential for securing the frame. |
Finish Nailer | Tool for attaching the box to the frame. |
Drill-driver/Impact Driver | For drilling holes and driving screws. |
When installing, remember to check the weight limits. Overloading shelves can lead to sagging or even damage.
Creating decorative vases is a fun way to add charm to your home. Here are some easy ideas:
Brushstroke Vase: Paint small strokes around a glass vase for an artistic touch.
Dipped Milk Bottle Vase: Dip glass milk bottles in paint for a rustic look.
Tin Can Vase: Decorate old tin cans for a chic and budget-friendly option.
These projects are perfect for beginners and can brighten up any room.
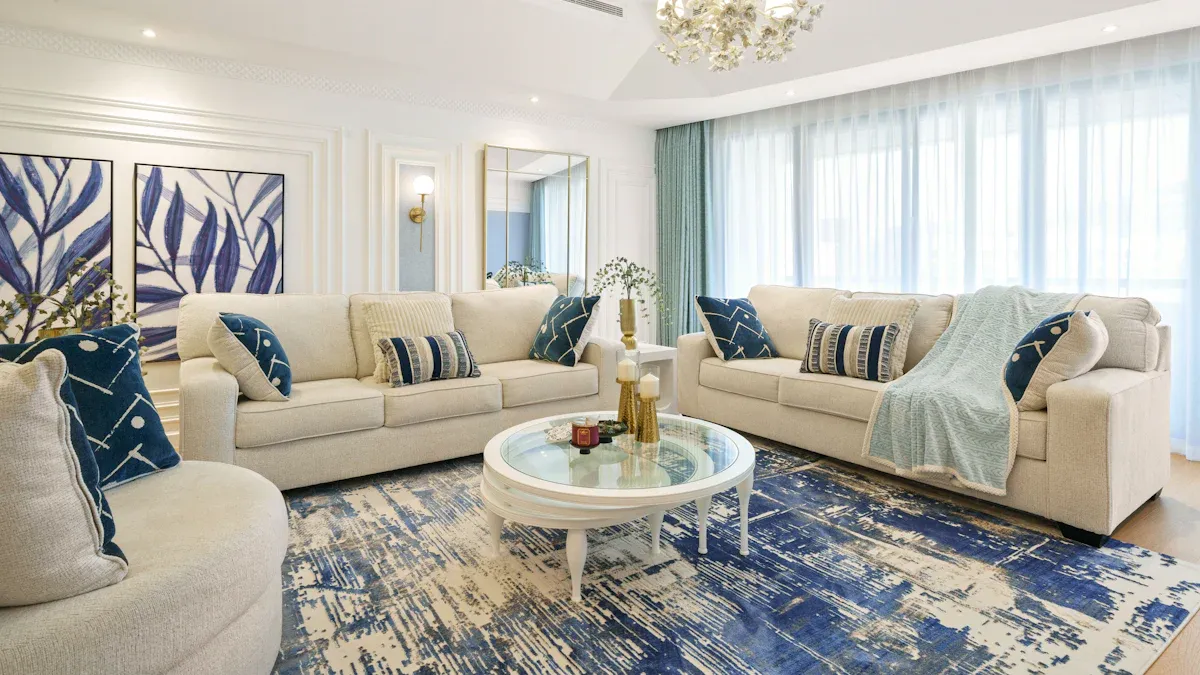
Throw pillows can transform your space with color and texture. Making them is easier than you think! Here’s a simple process:
Cut three squares of fabric (15×15 inches each).
Sew trim around one square.
Create an envelope opening with two rectangles of fabric.
Pin and sew the pieces together.
Turn the pillow cover right-side-out and insert the pillow form.
In 2024, popular fabrics include soft faux fur and quirky needlepoint designs. These pillows not only add comfort but also reflect your personality.
With these DIY projects, you can enhance your home décor while having fun. So grab your supplies and get started!
You’ve got the tools to create stunning home décor! Dive into these projects, and don’t hesitate to share your results. Remember, many beginners face challenges like budgeting and time management. Join online communities like The DIY Playbook or Hometalk for support. DIY can be both simple and stylish!
Macramé is a crafting technique using knots to create decorative items. You can use it for wall hangings, plant hangers, or even unique wreaths.
To make a simple wreath, gather a foam or wire base, greenery, and decorations. Attach them with floral wire or hot glue for a beautiful finish.
Yes! Macramé is durable and can withstand outdoor conditions. Consider using it for hanging planters or decorative wall pieces on your patio.
